By the end of this tutorial you'll have your Vue application live on Cloudflare Pages with a custom domain and an SSL certificate.
First thing is to use existing or a new Vue application and push it to the GitHub or GitLab repository.
In this case I'll create new Vue app.
Creating new Vue application
Everything I need to do is run
npm create vue@latest
Wizzard will guide me through the process. For this demo I requested version of Vue with a router, so we can see how it shows different pages on Cloudflare.
✔ Project name: … <your-project-name>
✔ Add TypeScript? … No / Yes
✔ Add JSX Support? … No / Yes
✔ Add Vue Router for Single Page Application development? … No / Yes
✔ Add Pinia for state management? … No / Yes
✔ Add Vitest for Unit testing? … No / Yes
✔ Add an End-to-End Testing Solution? … No / Cypress / Playwright
✔ Add ESLint for code quality? … No / Yes
✔ Add Prettier for code formatting? … No / Yes

Scaffolding project in ./<your-project-name>...
Done.
After installation is done, I need to install dependencies and run it.
npm install
npm run dev
Pushing code to the GitHub Repository
Inside the Vue directory run git init.
I'll add files to the tracking:
git add .
git commit -m "Initial commit"
git remote add origin [email protected]:CodingoTuts/vue-cloudflare.git
git push -u origin master
Now my application is on GitHub and I can switch to Cloudflare.
Create Cloudflare Pages application
Now from my Cloudflare account I'll visit sidebar nav and click Workers & Pages and open Pages tab.
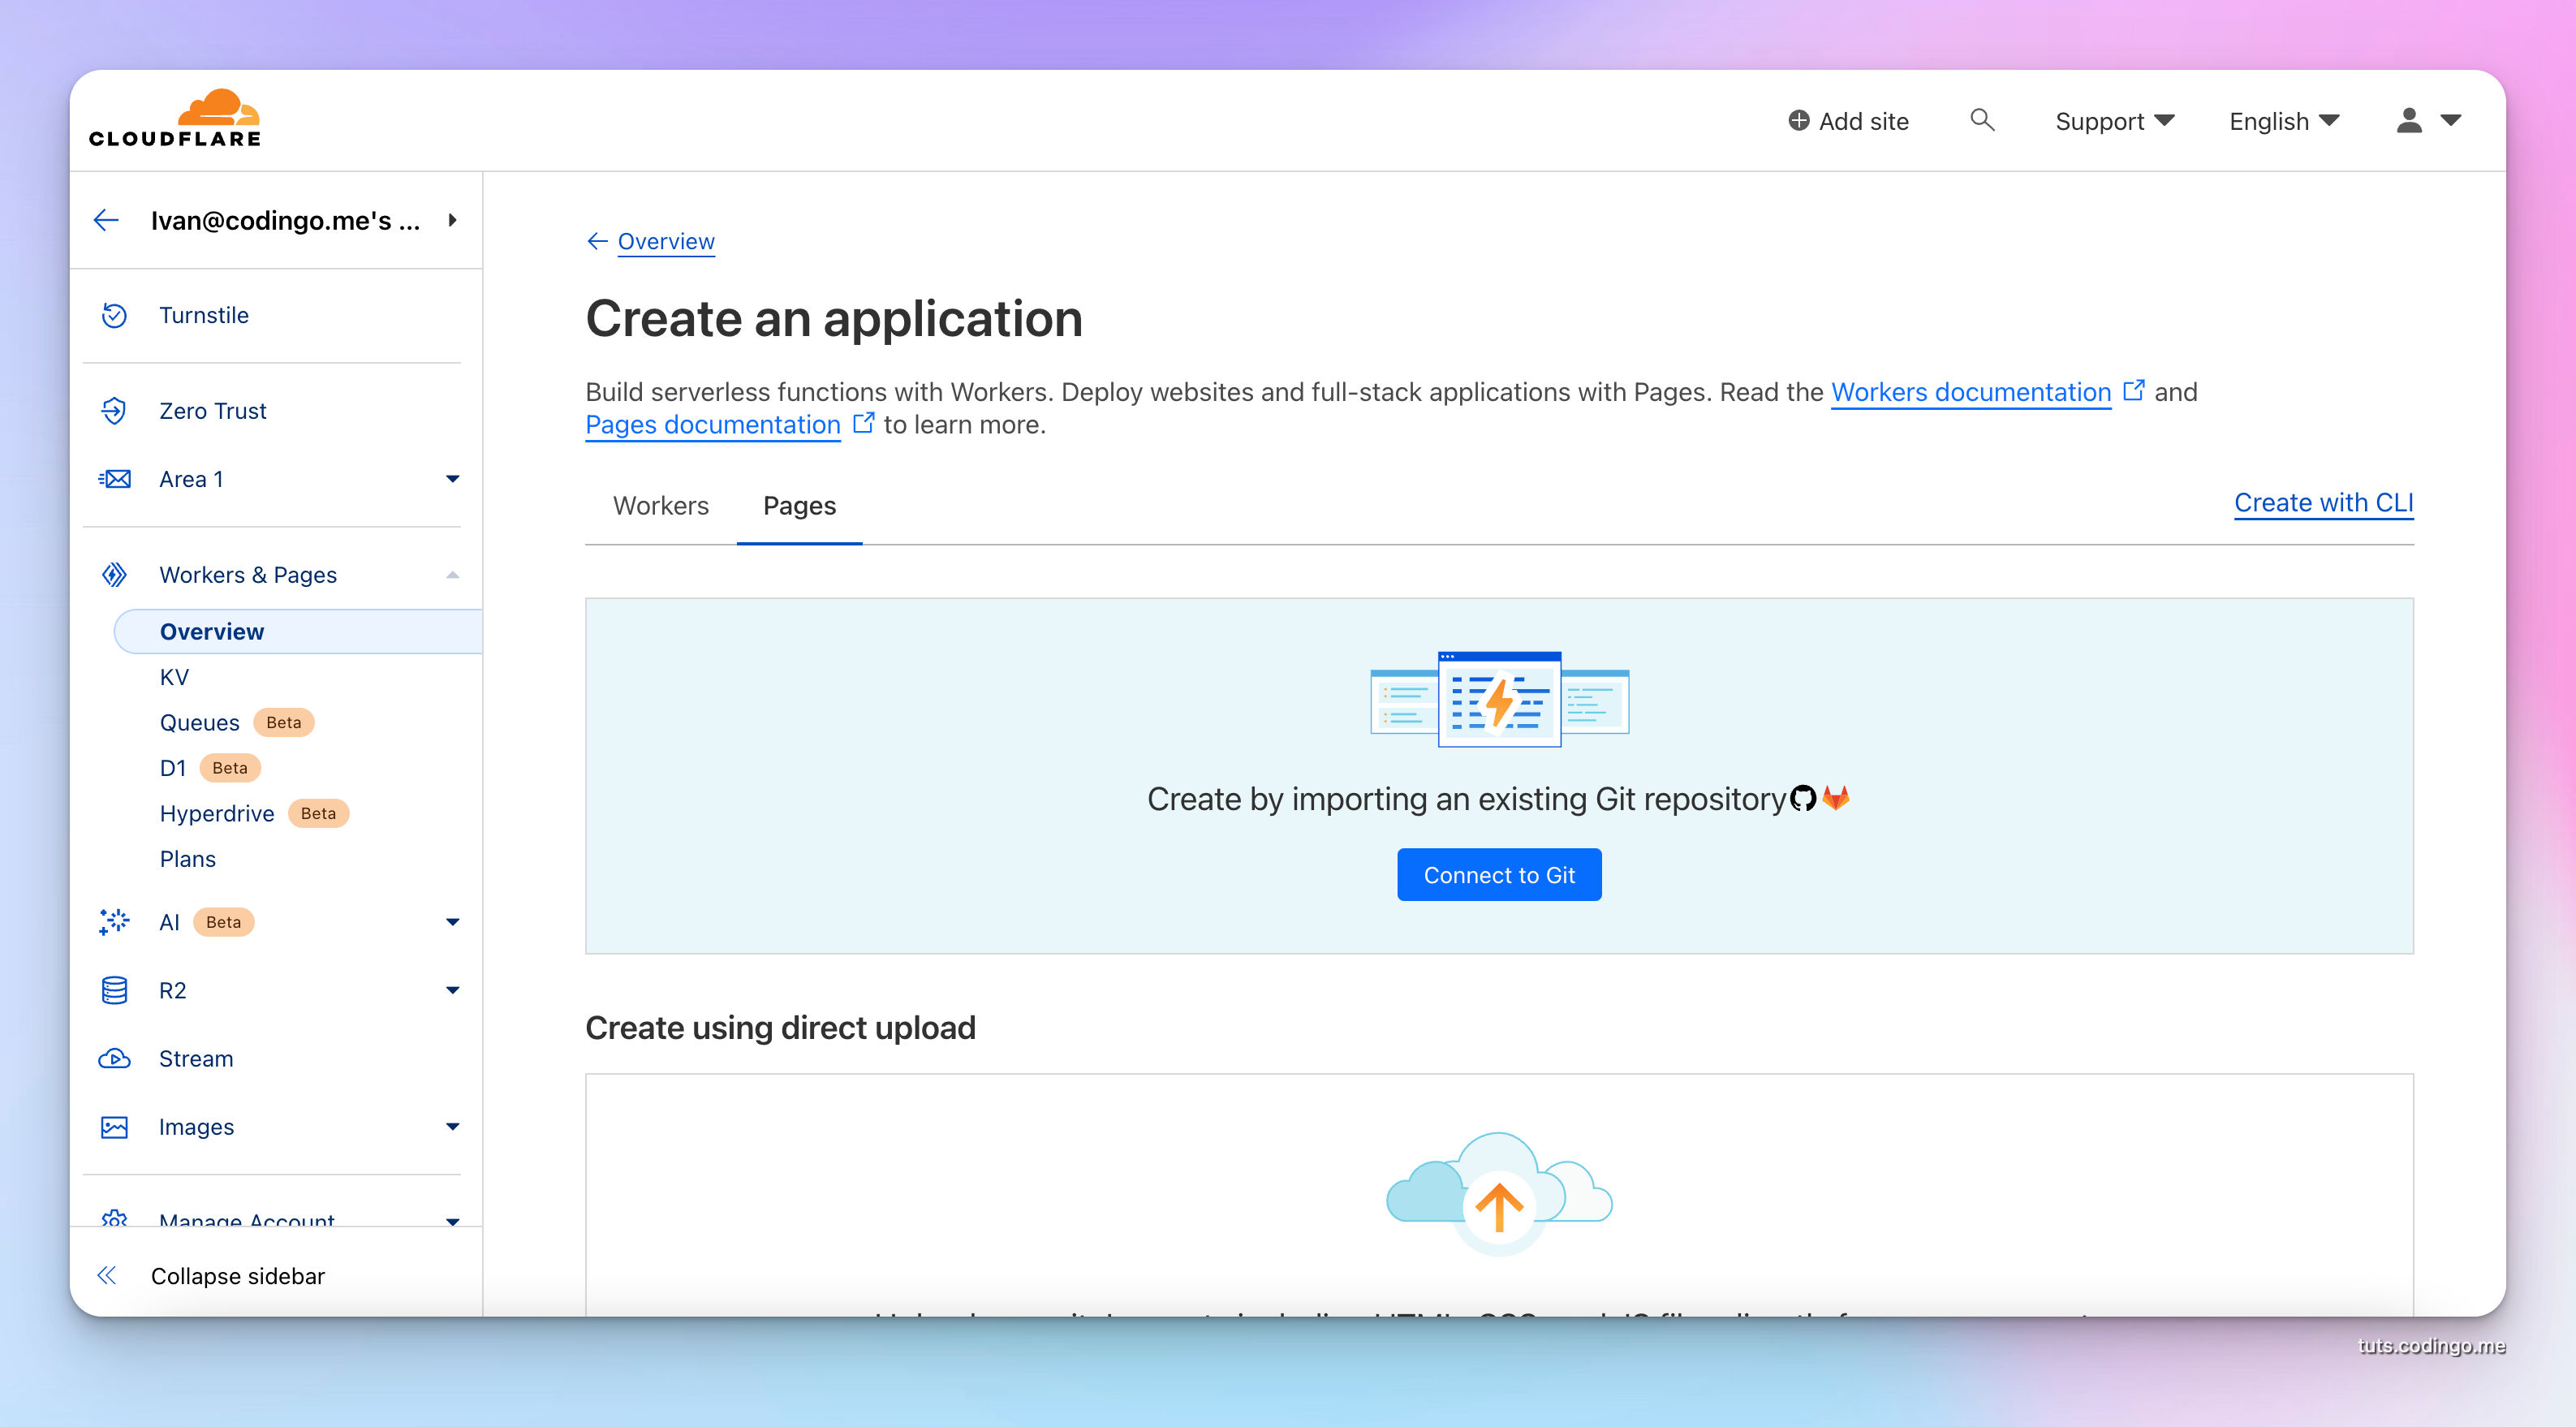
From this page it's visible that it's possible to connect GitHub or GitLab repository.
I'll choose GitHub.
Authorizing Cloudflare Pages to access the repo
Cloudflare redirected me to the GitHub authorization page.
There are 2 options:
- Approve access to all repositories
- Approve only selected repositories
It's better to keep access minimal and authorize only what's needed.
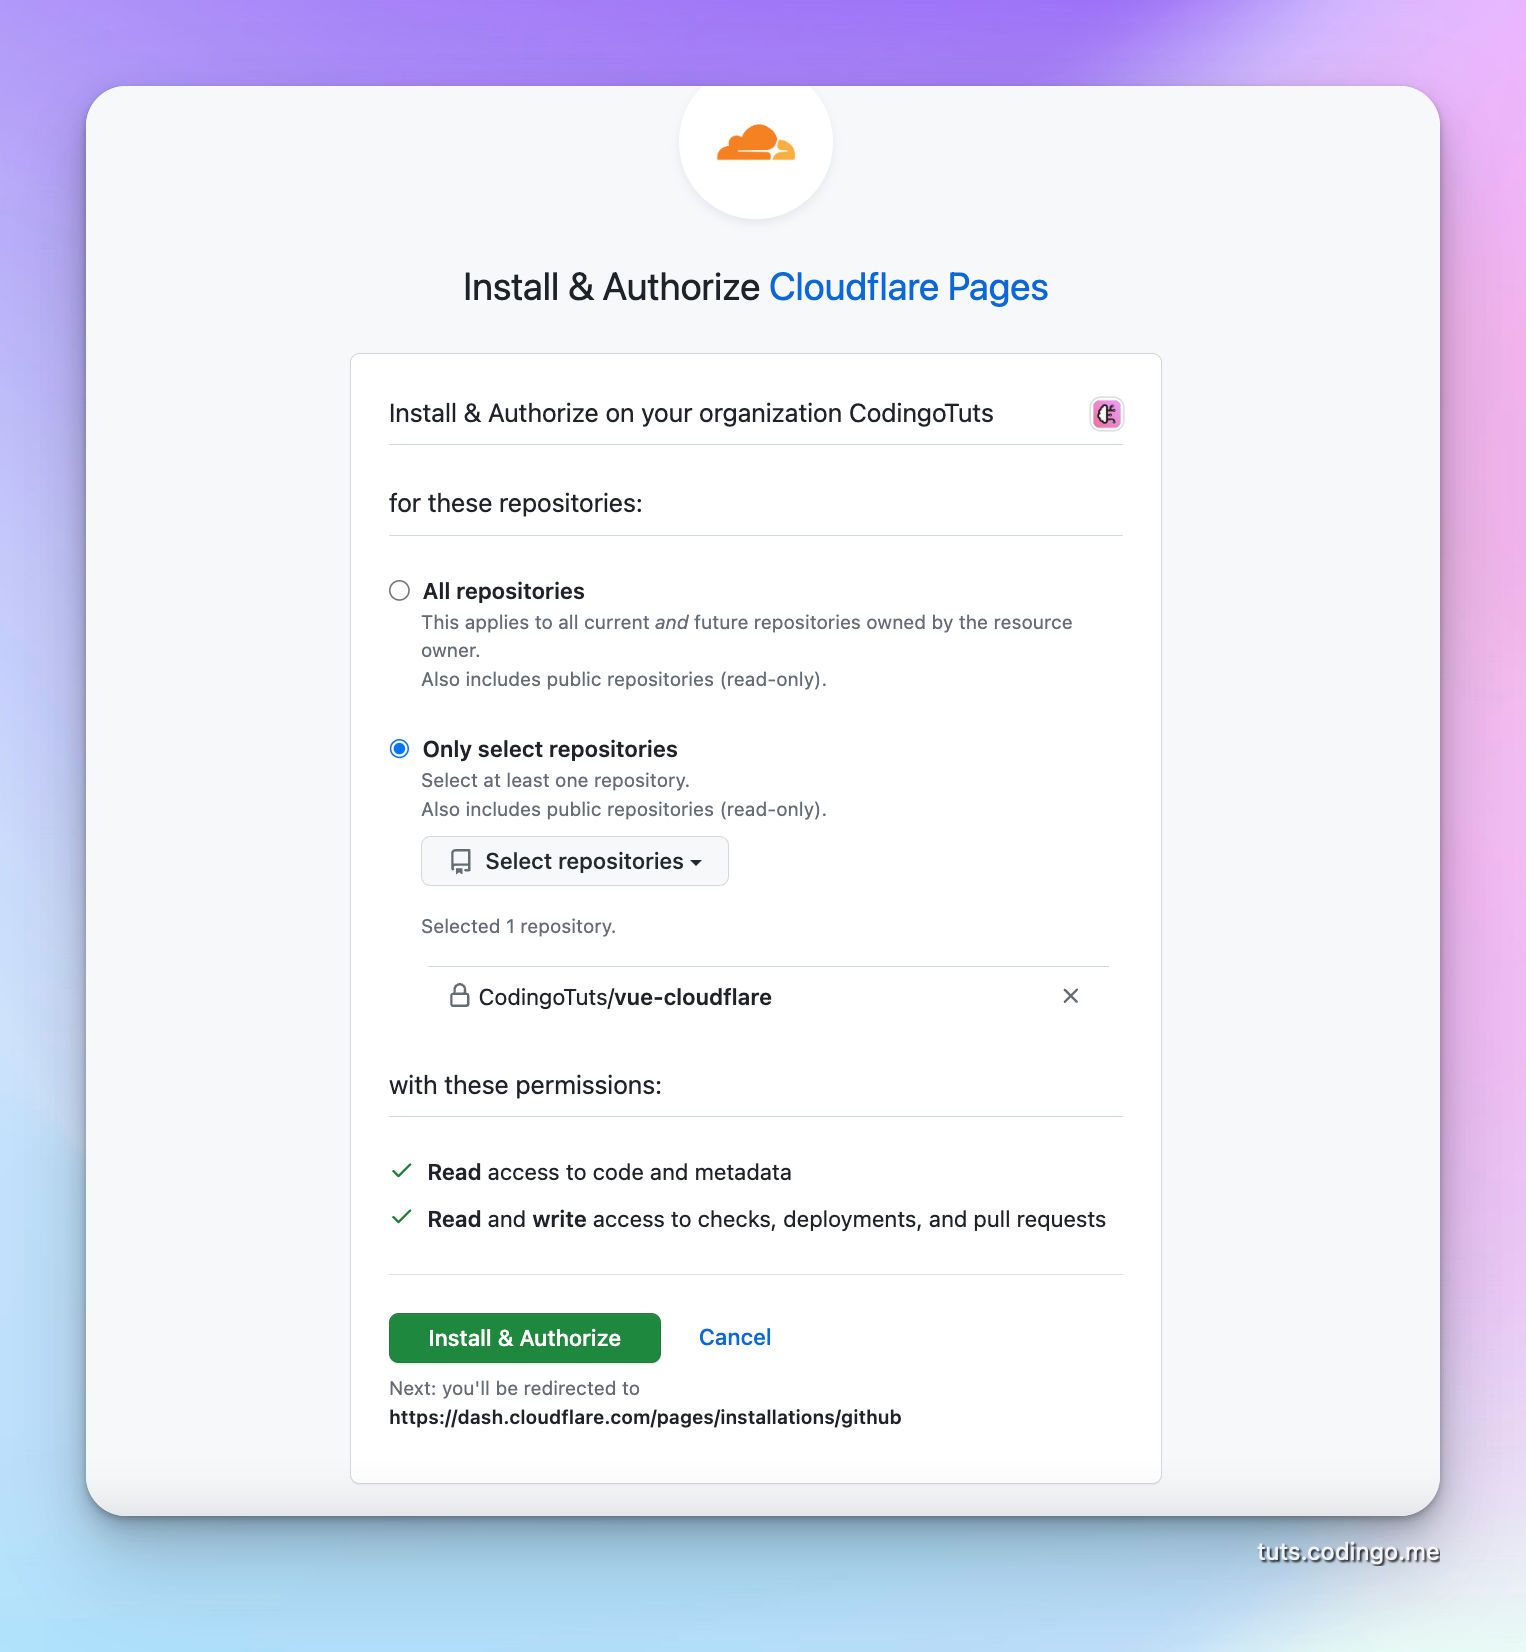
After authorizing Cloudflare Pages application access to Github it'll redirect back to Cloudflare.
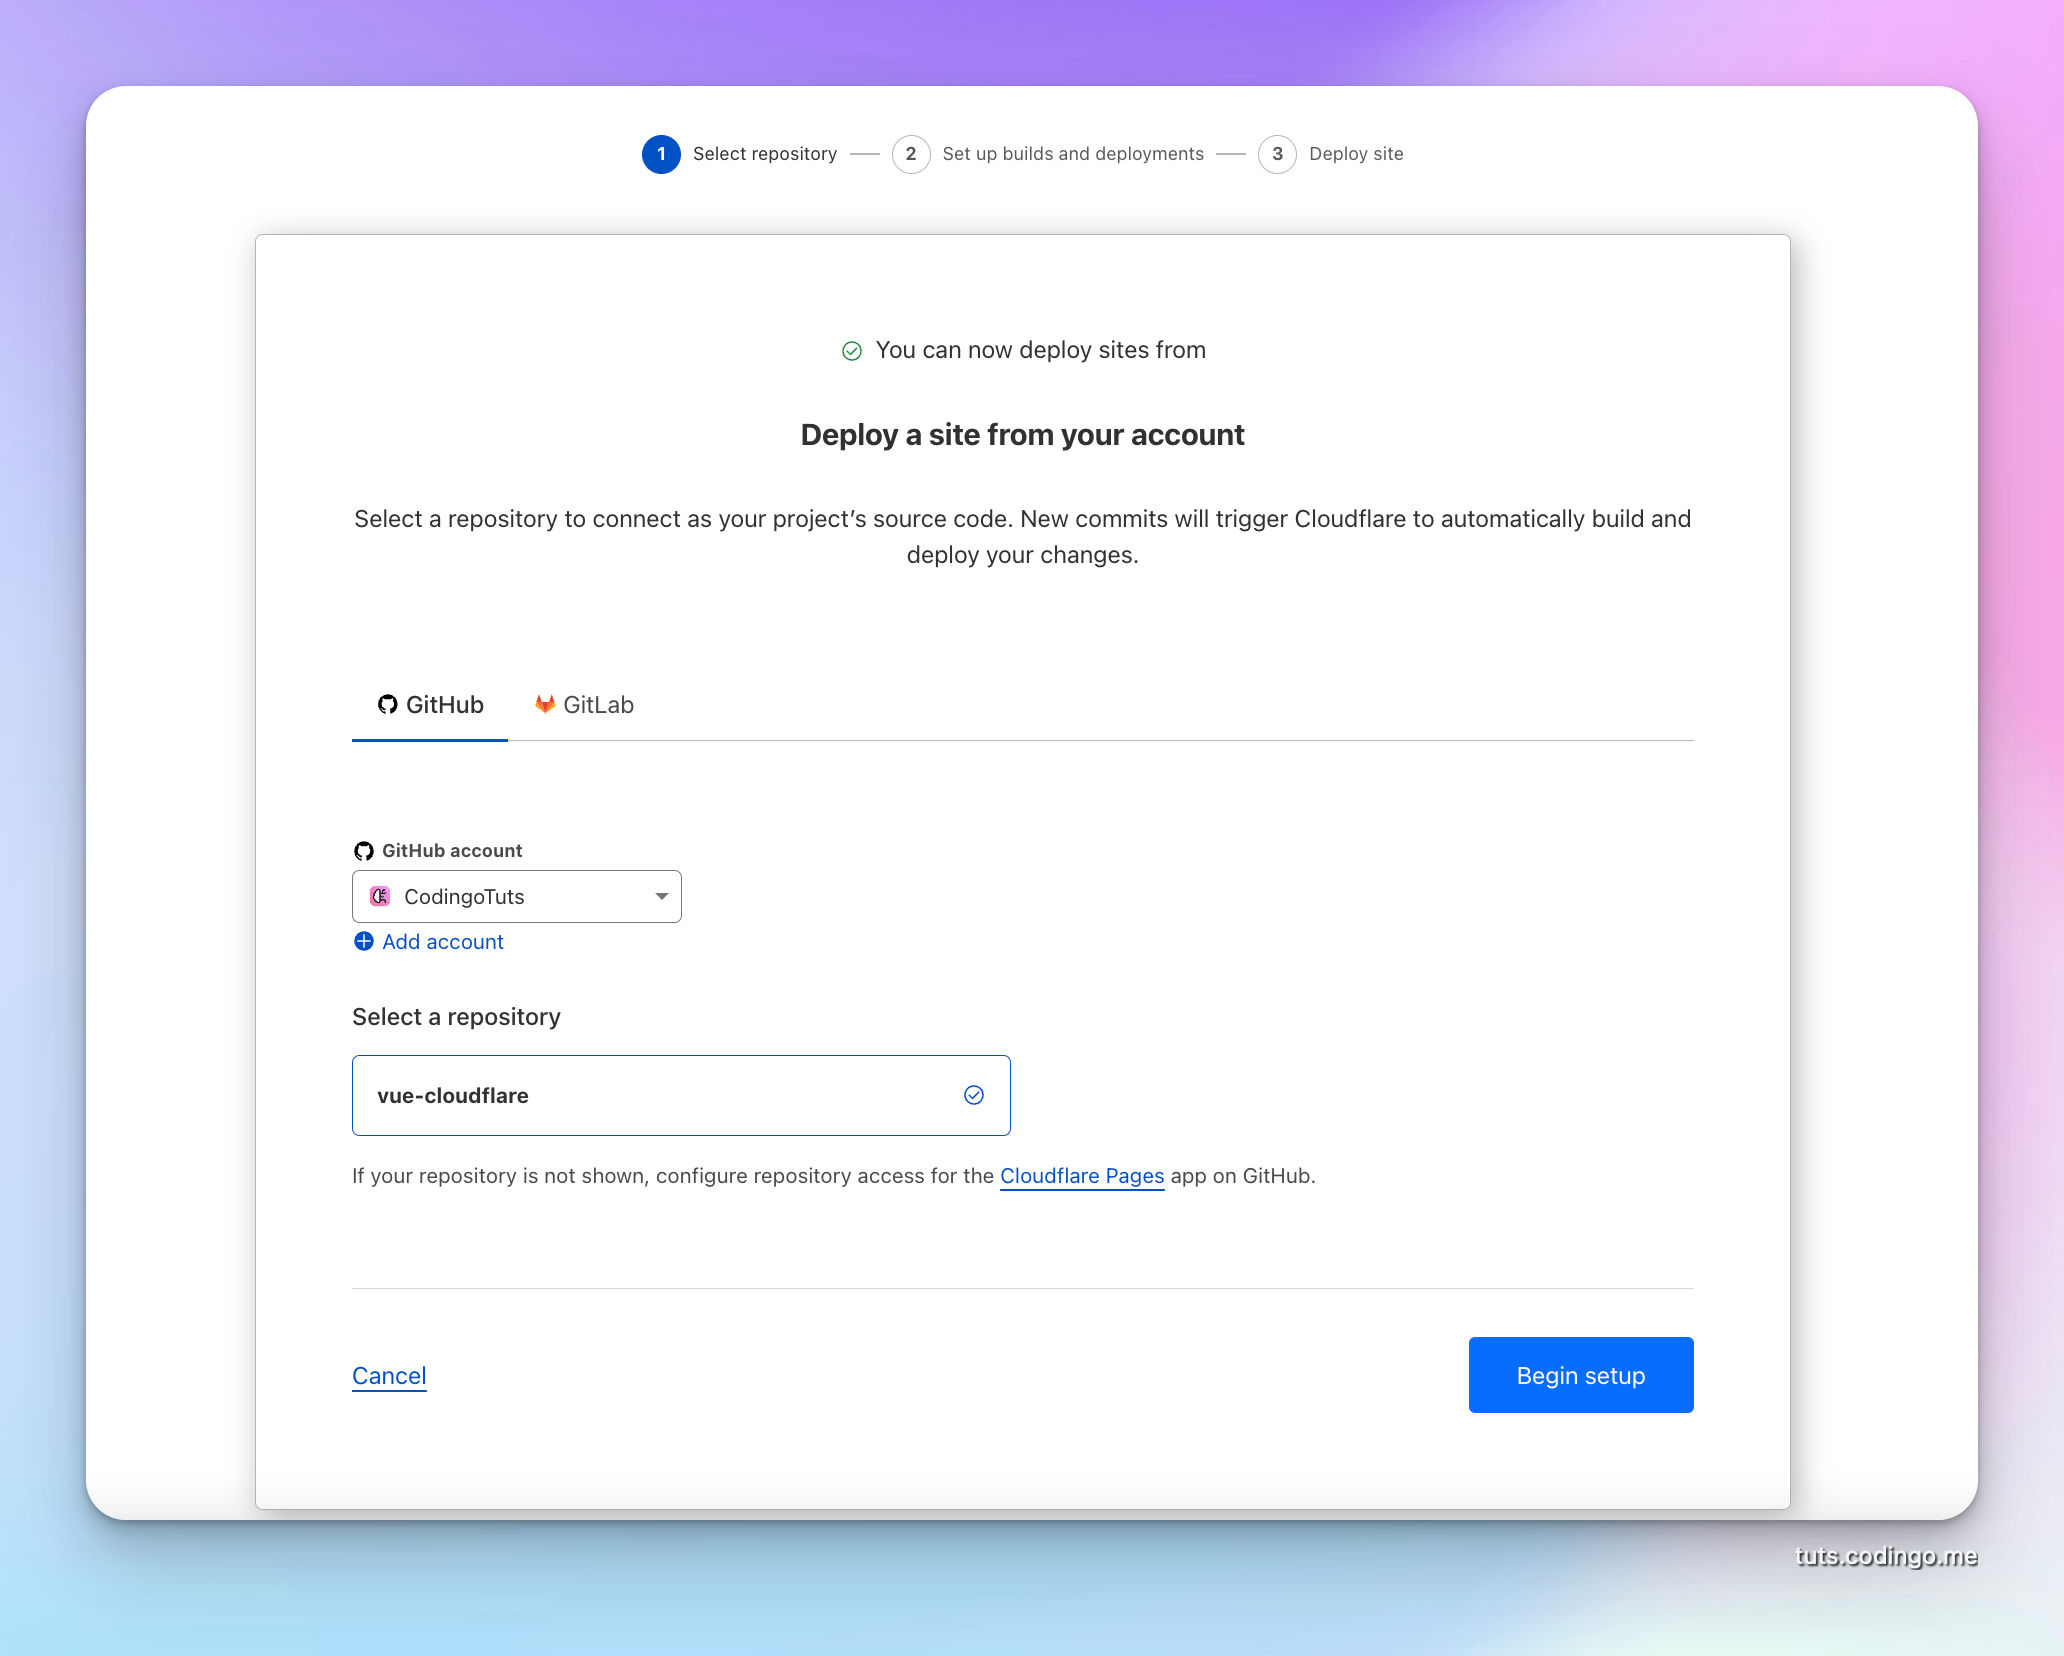
It's time to Begin setup.
Setup Vue build and deployment steps
Main inputs on this page are Framework presets all others are good by default.
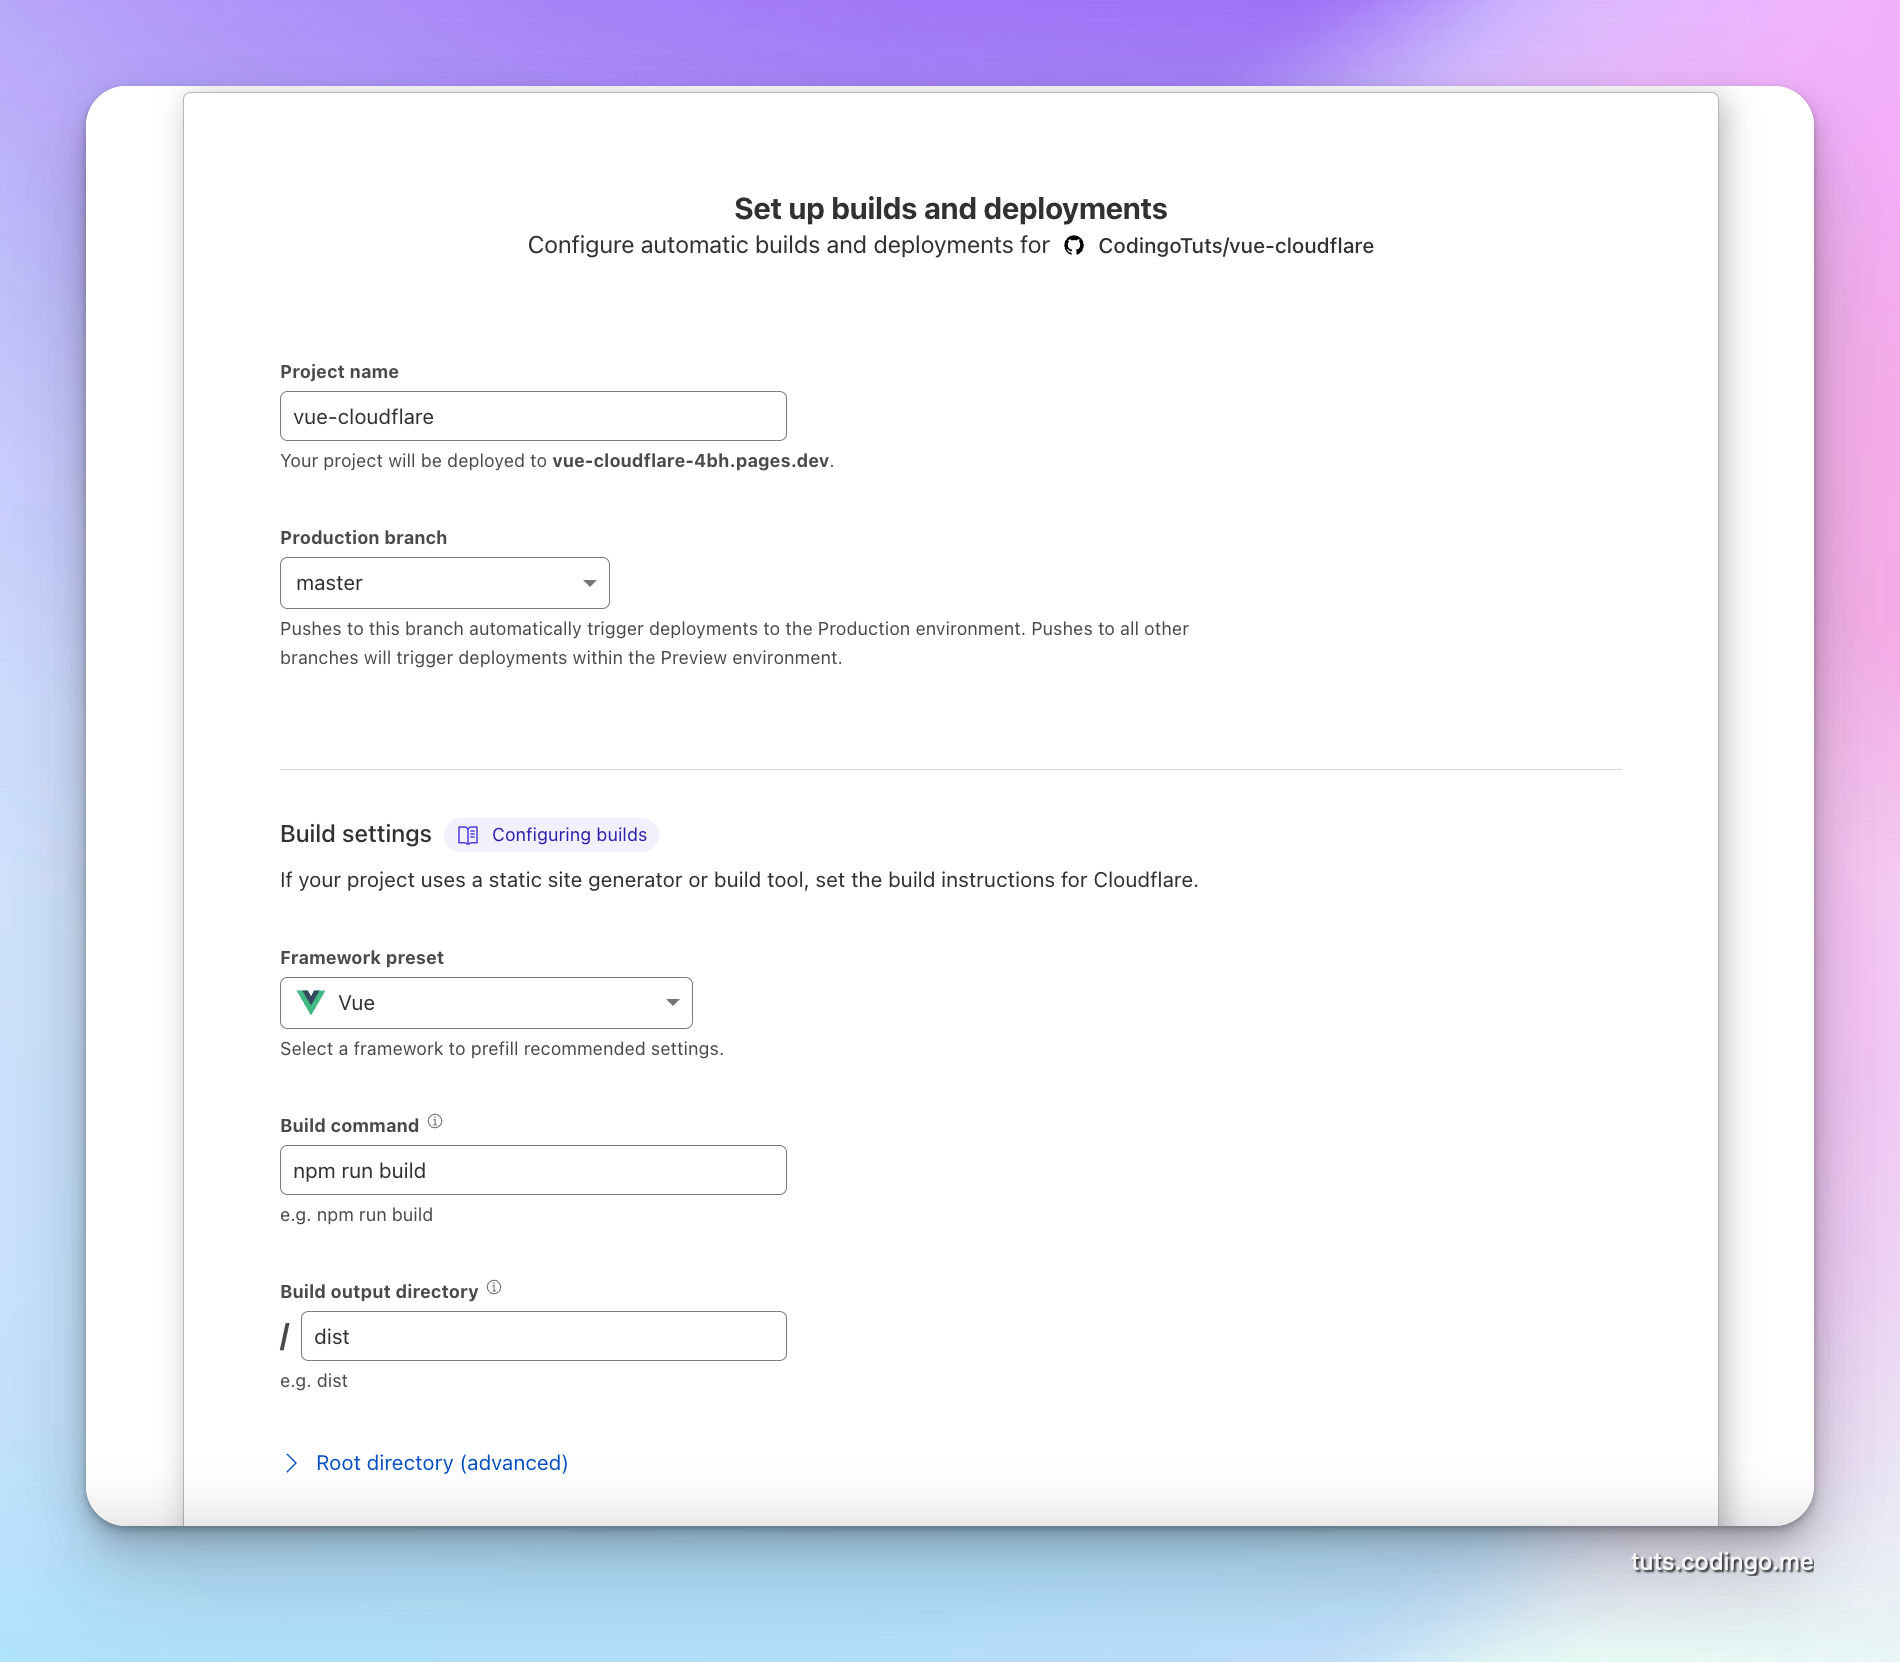
Build command is npm run build and build output directory is /dist.
When setup is done, Cloudflare will assign some subdomain of pages.dev to the application.
Adding custom domain to Cloudflare Pages
If your domain is already on the same Cloudflare account it'll be very simple.
Go visit Custom domains tab and enter the wanted domain.
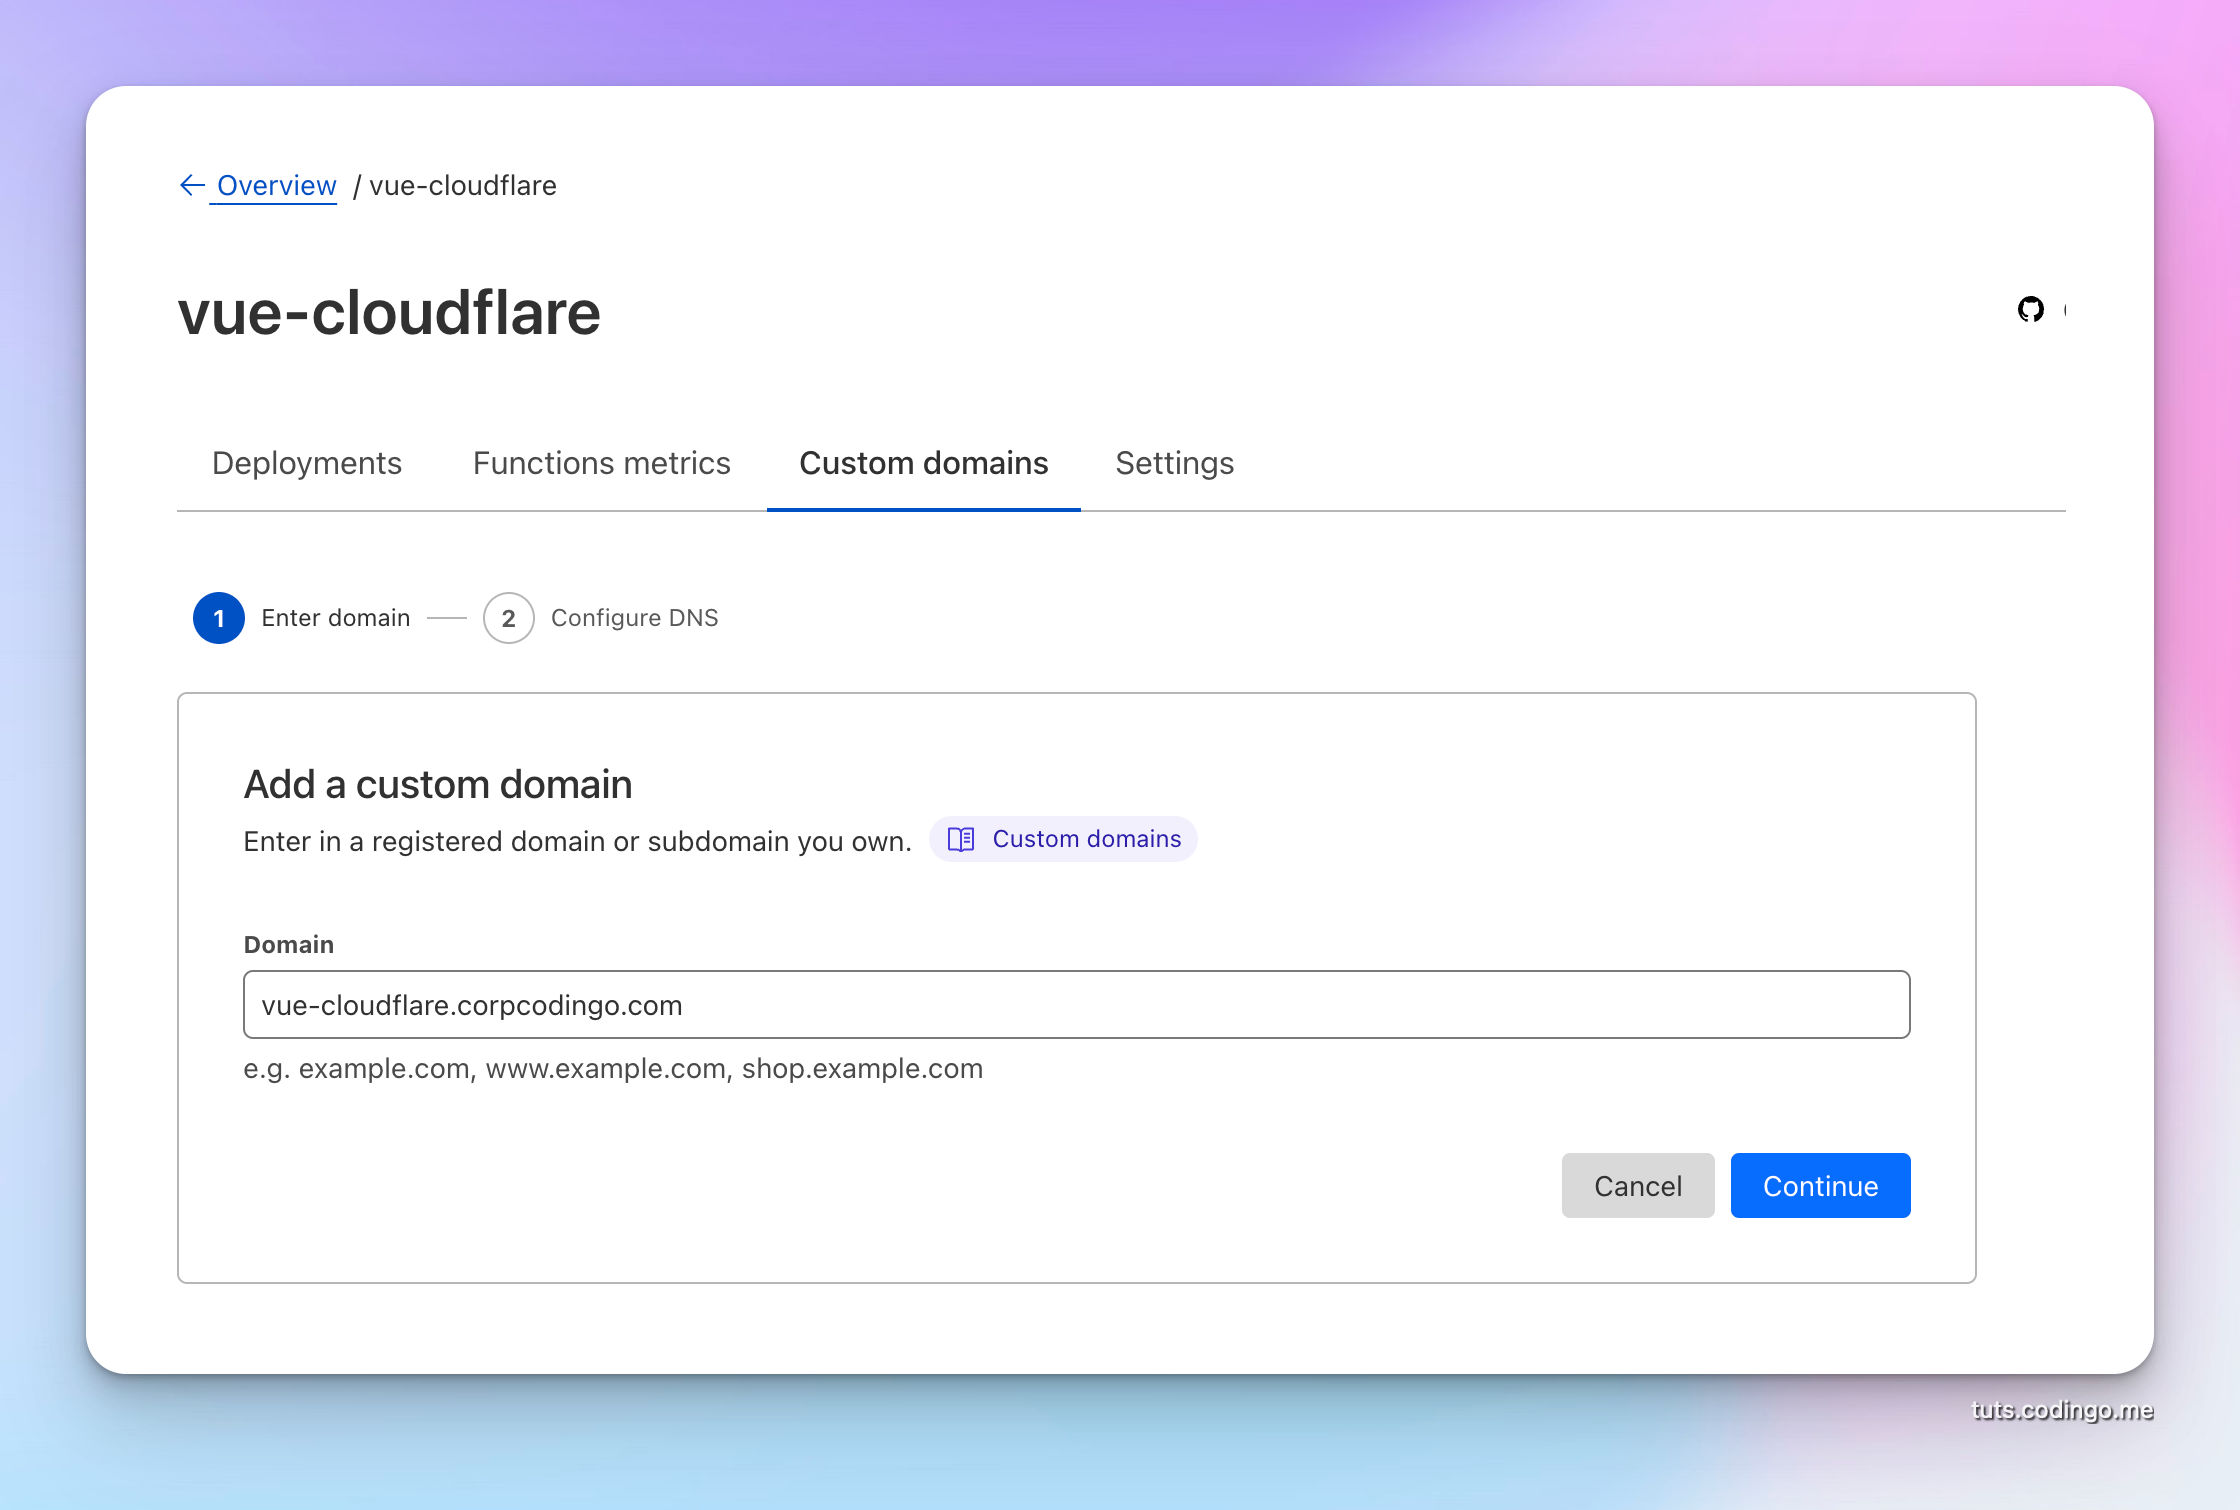
Continue to next page.
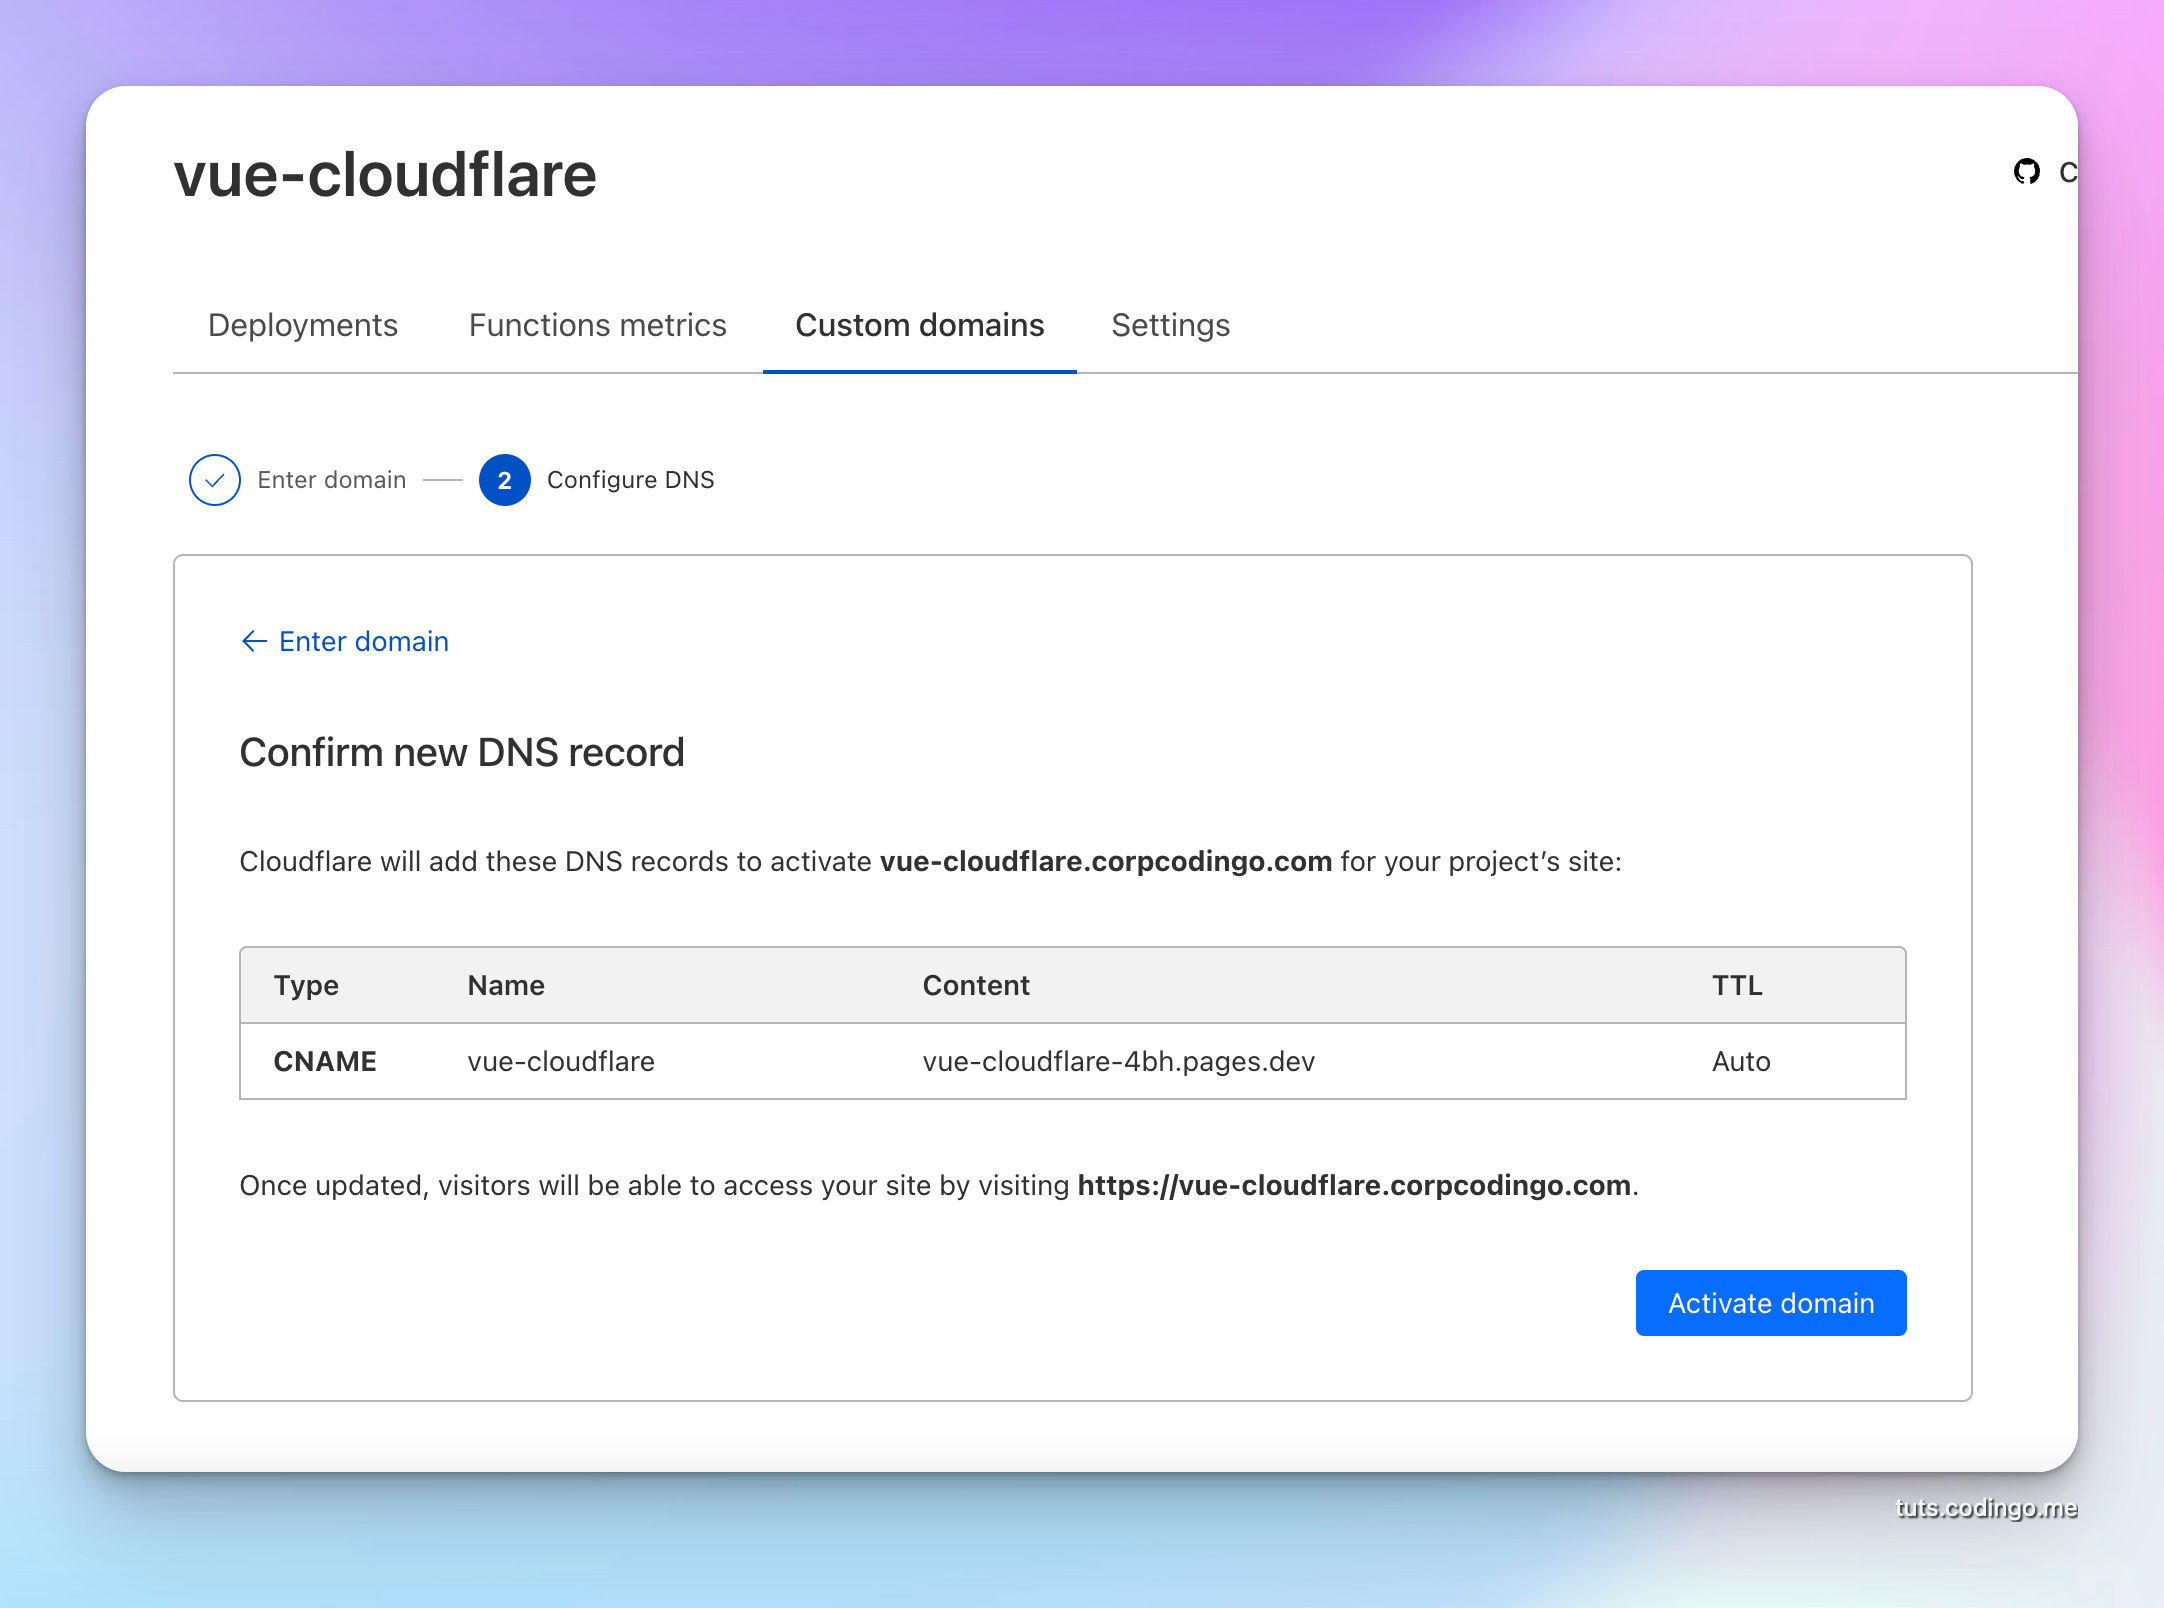
After click the Activate domain button, activation process will starat.
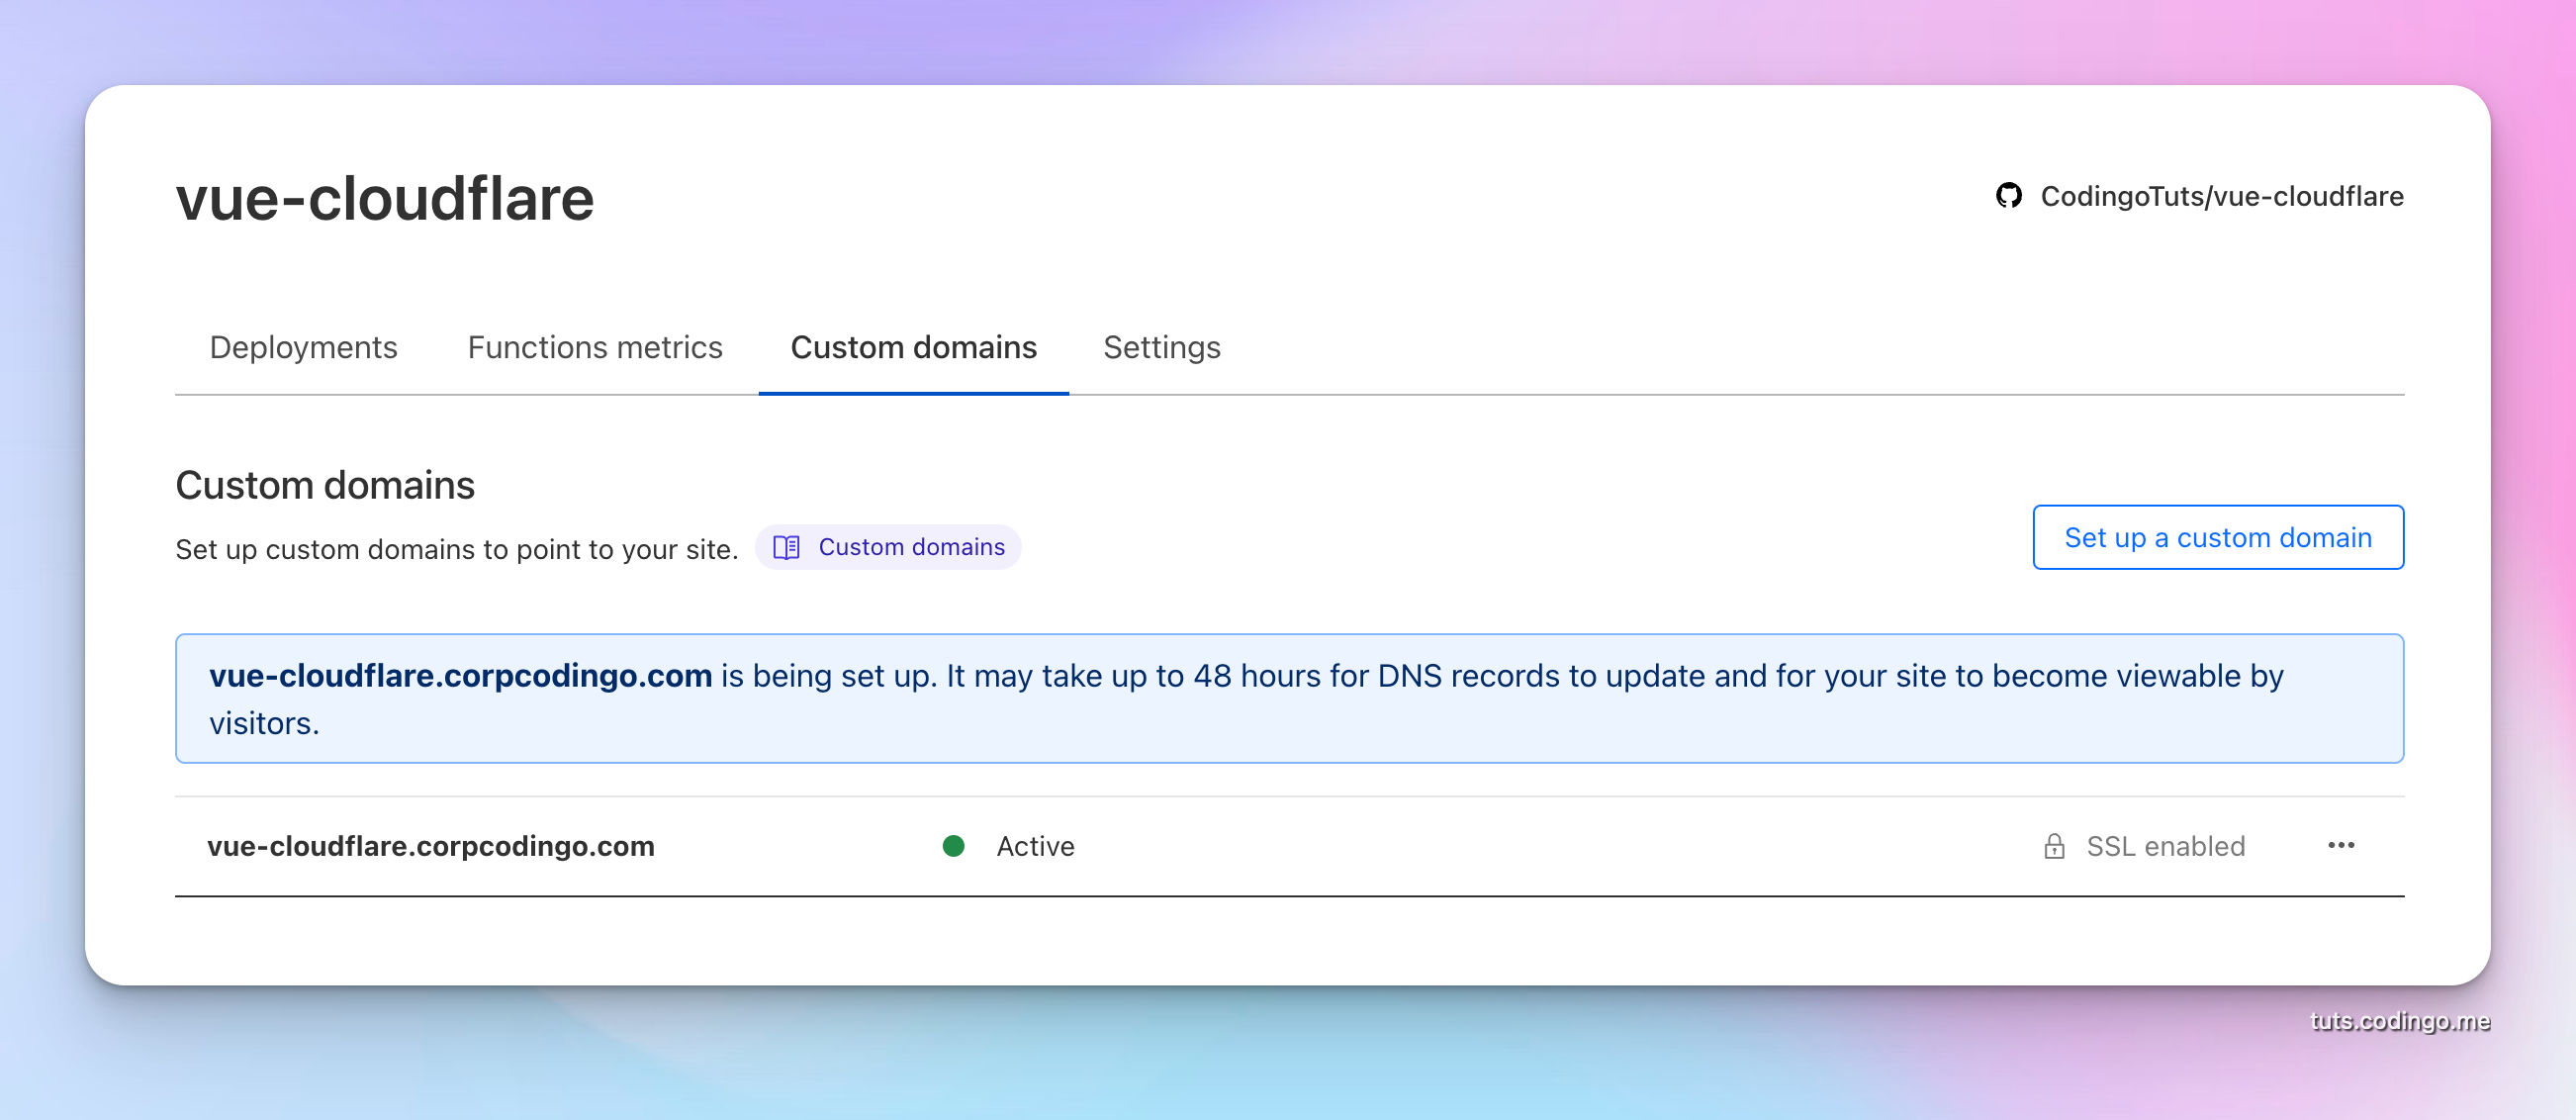
In couple of seconds new domain will be active and SSL will be enabled on it.
Benefits of hosting Vue application on Cloudflare Pages
There are many benefits of hosting Vue on Cloudflare Pages and not so many downsides.
- No server management - this is a managed serverless setup, sysadmin knowledge is not required.
- Nothing can go wrong - setup is so simple that almost nothing can go wrong
- Autoscalling - Cloudflare pages have autoscalling, no we don't need to worry about number of users, sessions, etc.
- Free - Hosting on Cloudflare pages is free
- Cloudflare suite - Access to the entire Cloudflare suite for free, including: SSL, caching, DDOS protection.
The only downside that I noticed is there is no way to "login" into the instance, since there is no instance. Meaning I am not able to directly configure server, and make some more complex setups.
These complex setups are handled on Cloudflare using Page rules. Good thing is that complex scenarios are very rarely required.