What is ReCaptcha?
Captcha is a challenge that is used to recognize bots on websites. They come in different forms, like checkboxes, images, puzzles, etc.
Recaptcha is a Google product that was created to prevent abuse of sites. At first, it had the usual captcha options, but recently, with version 3, it does not require any input from the user.
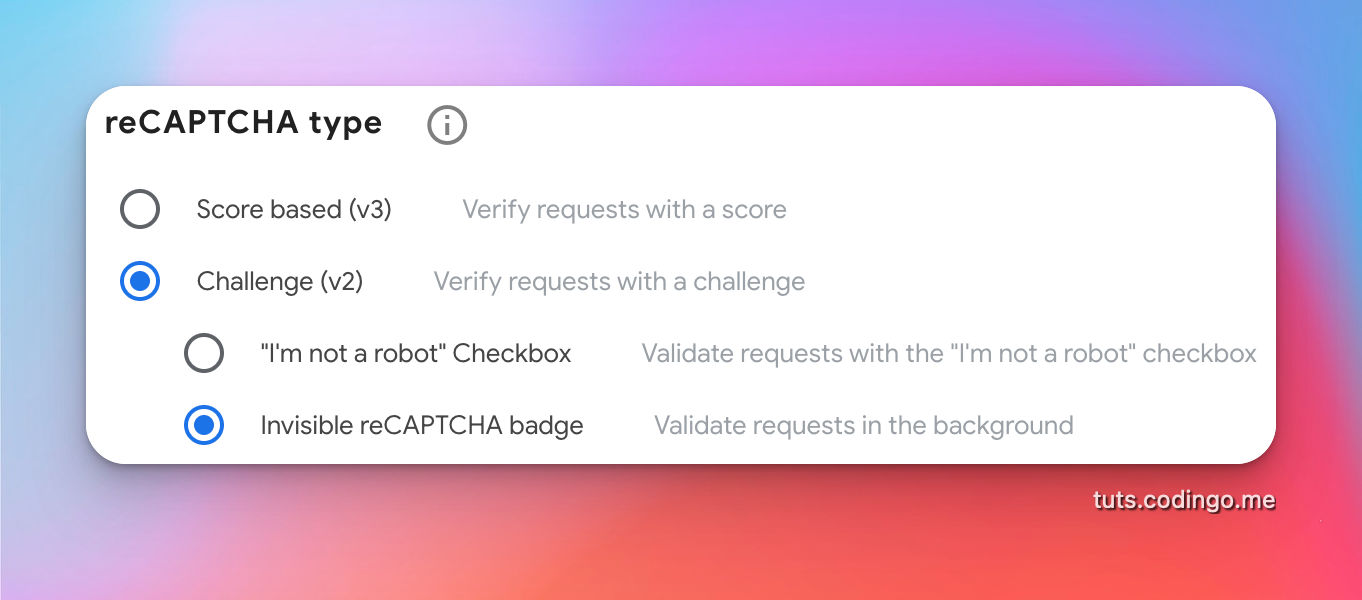
Google Recaptcha has three main forms:
- I’m not a robot checkbox - v2
- Invisible reCaptcha badge - v2
- Score based - v3
In this tutorial, you’ll learn how to connect the Laravel project with Google Recaptcha and implement the most suited Recaptcha option for your application.
With Google Recaptcha, you’ll be able to protect your signup forms in Laravel applications or any other forms.
Google ReCaptcha Obtaining credentials
Go to Google ReCaptcha Admin page and click the + button in top right corner.
You'll be presented with the ReCaptcha create form. In the first example we'll create v2 challenge, first option "I'm not a robot" checkbox.
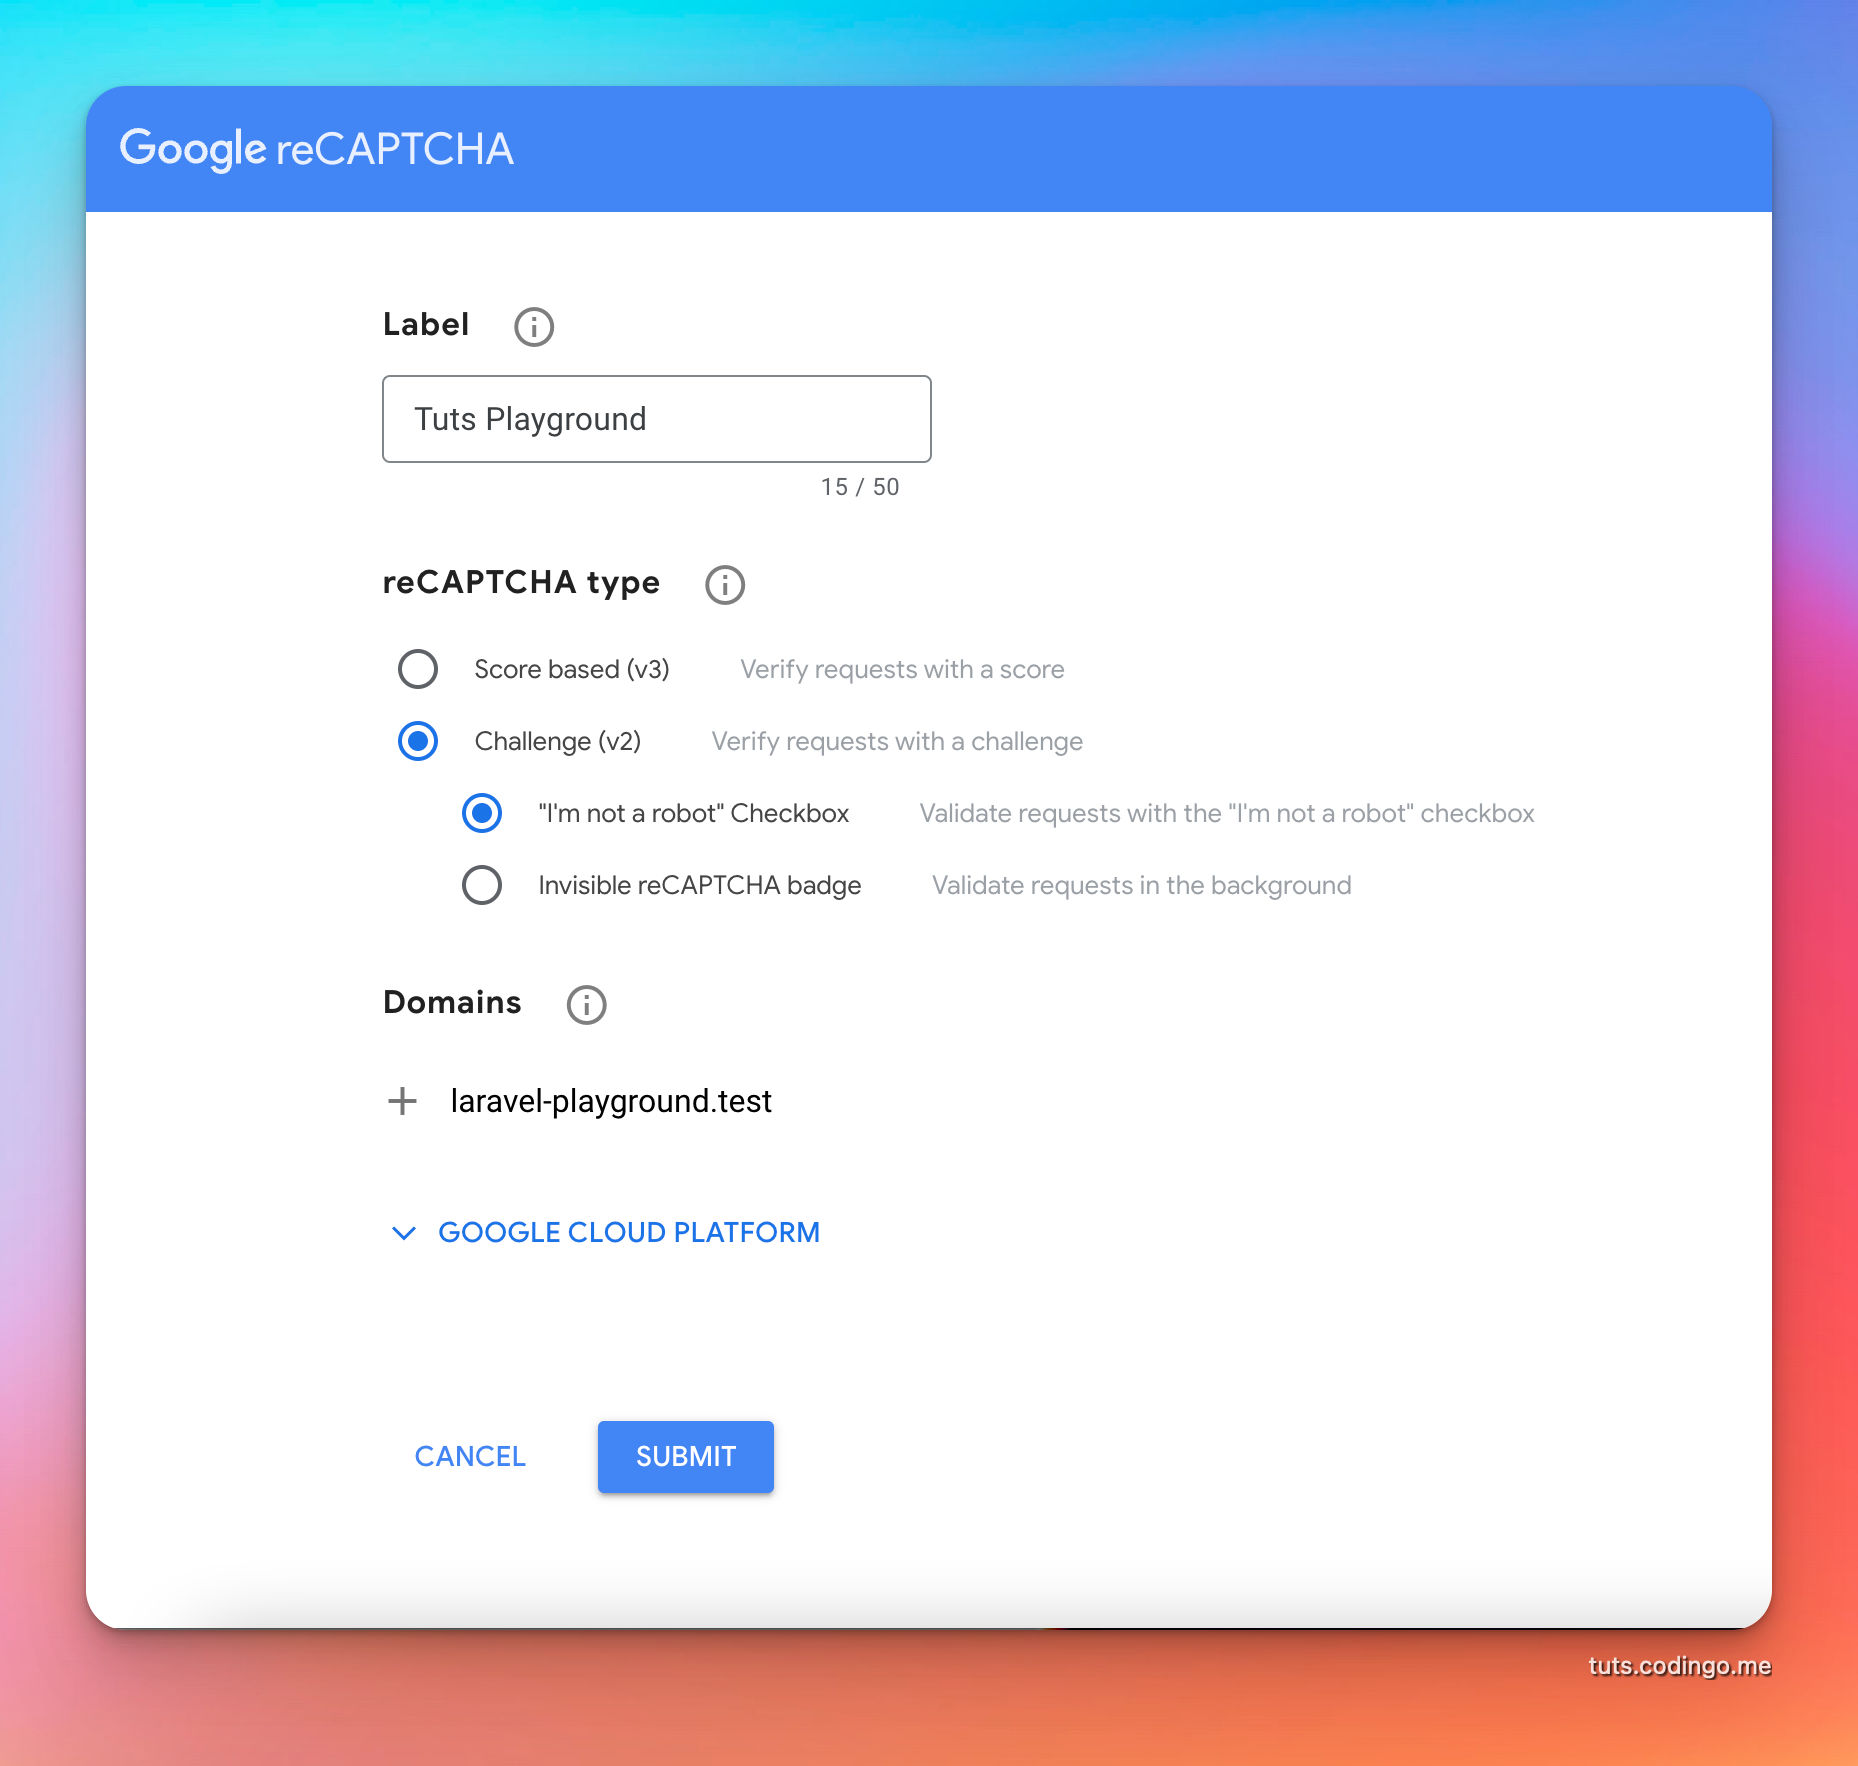
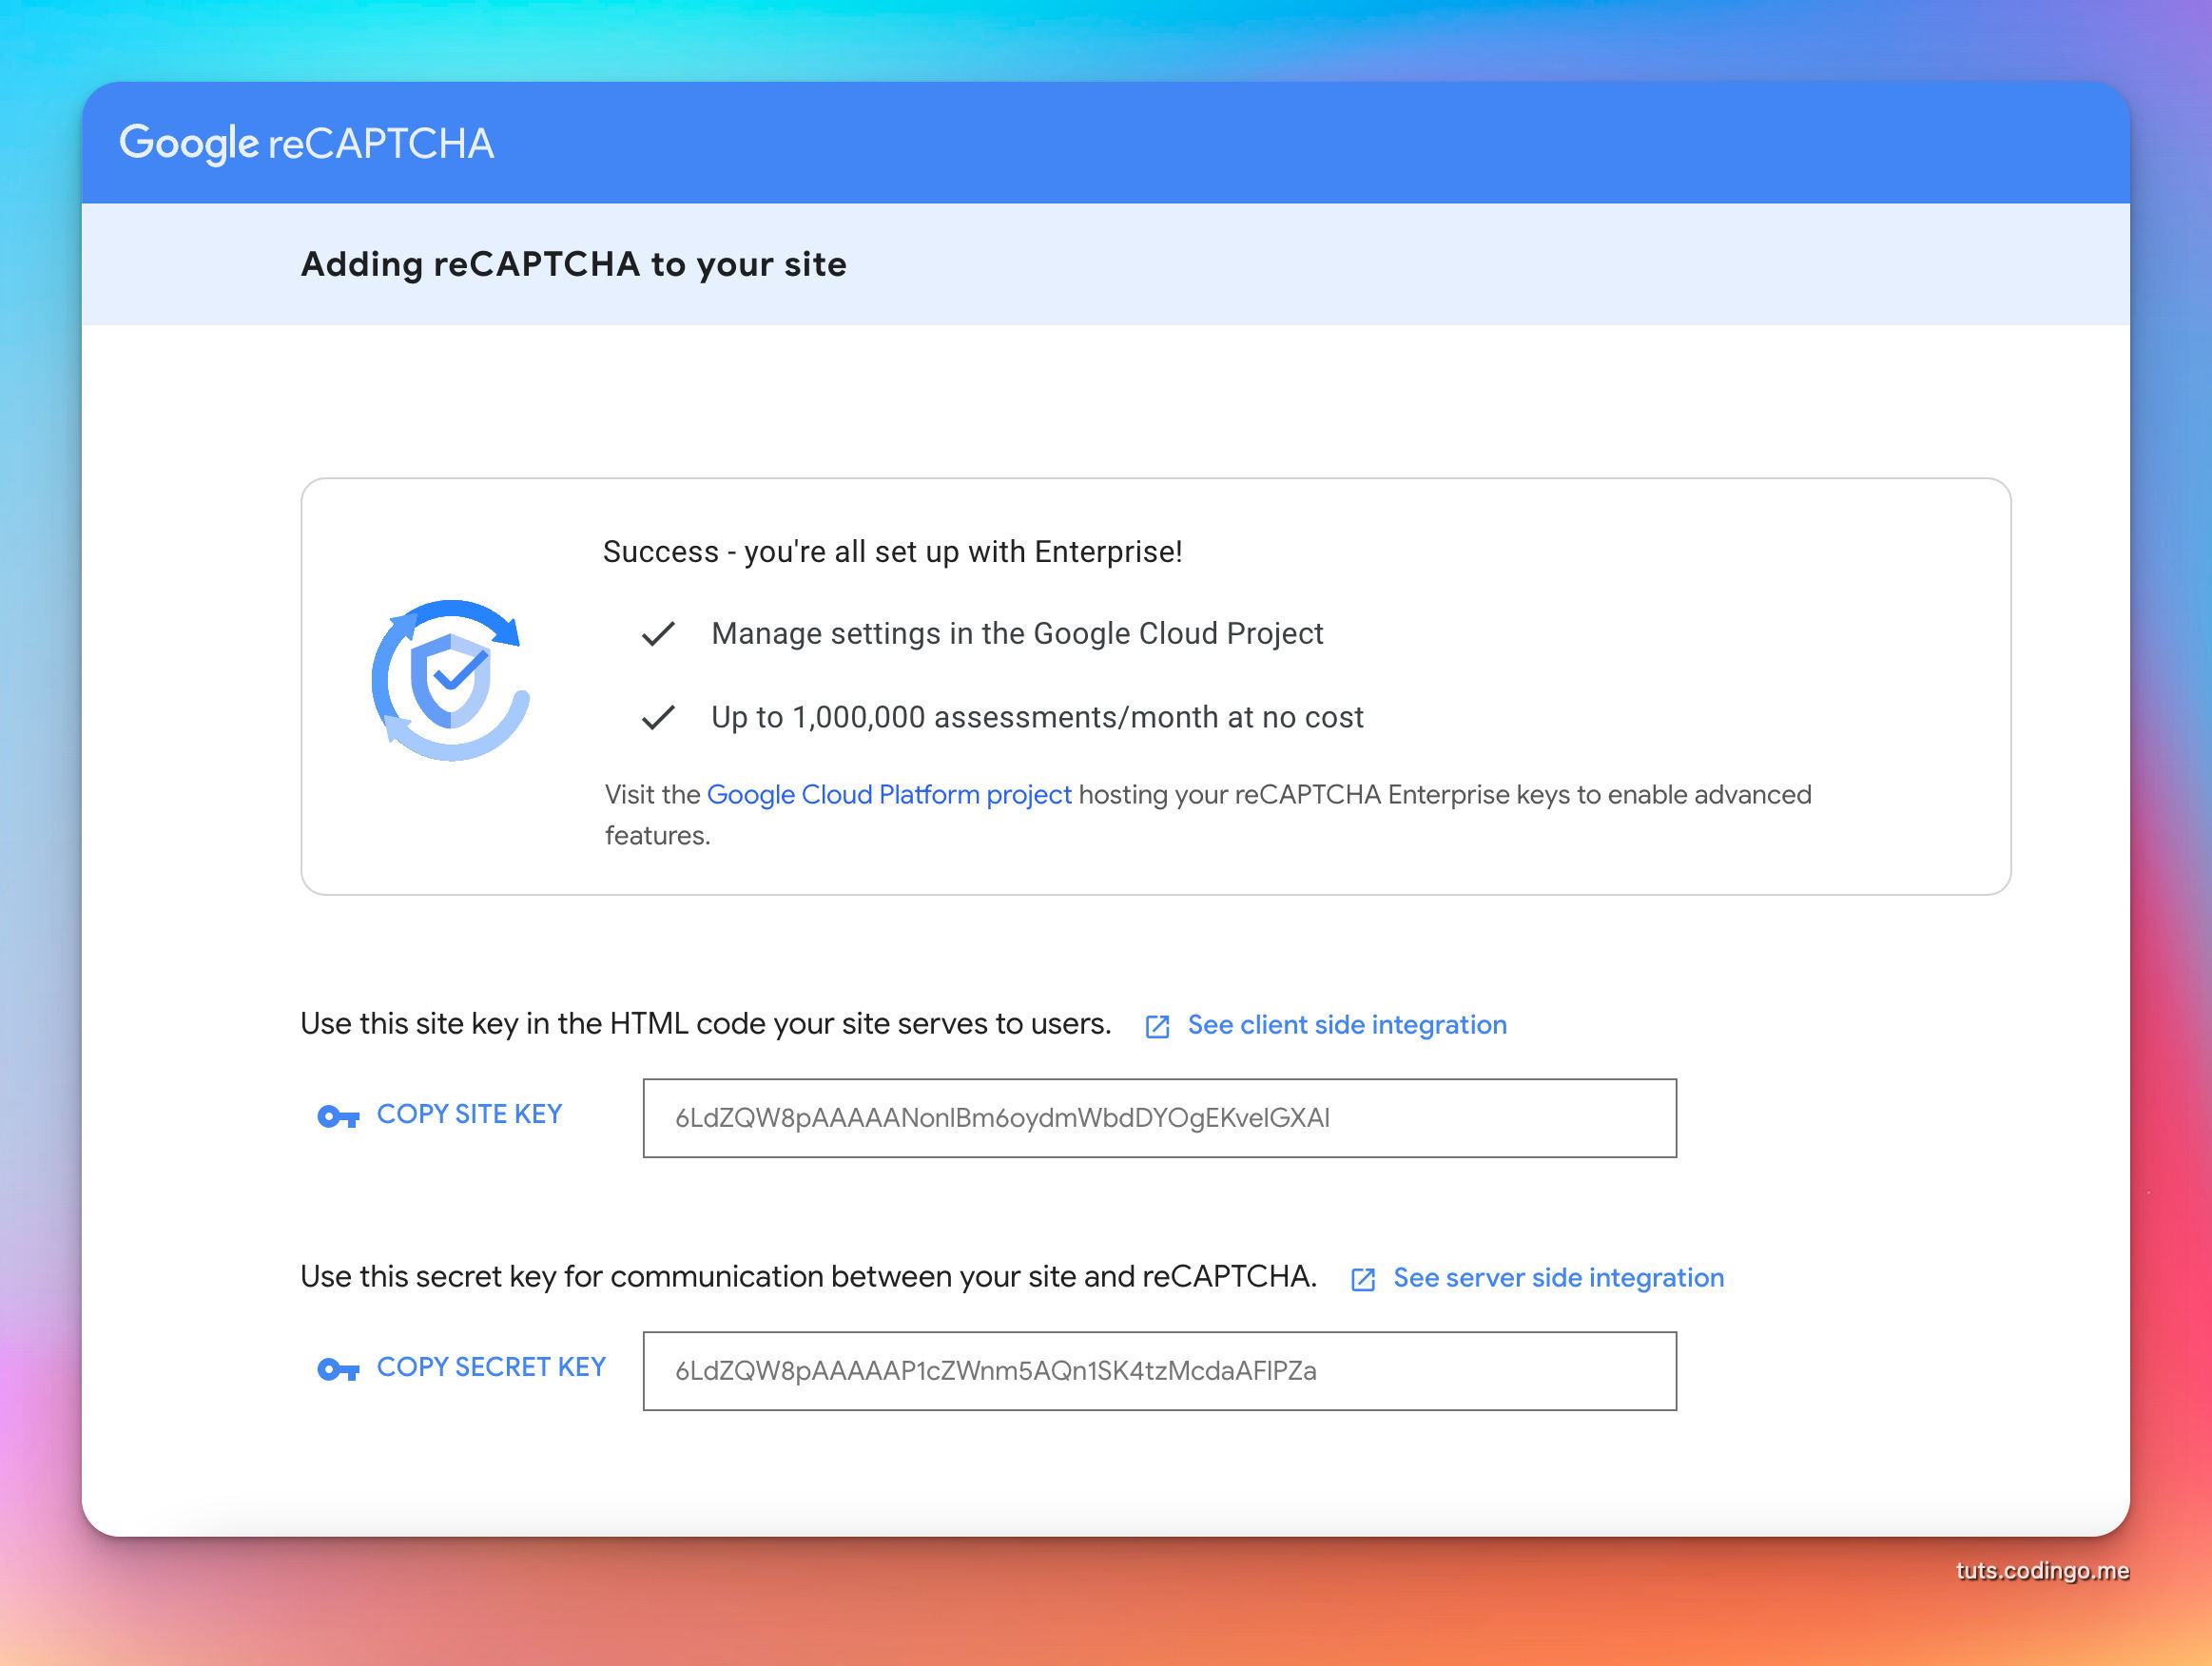
On submit we'll see reCaptcha site key and the secret. We'll need these for our .env file.
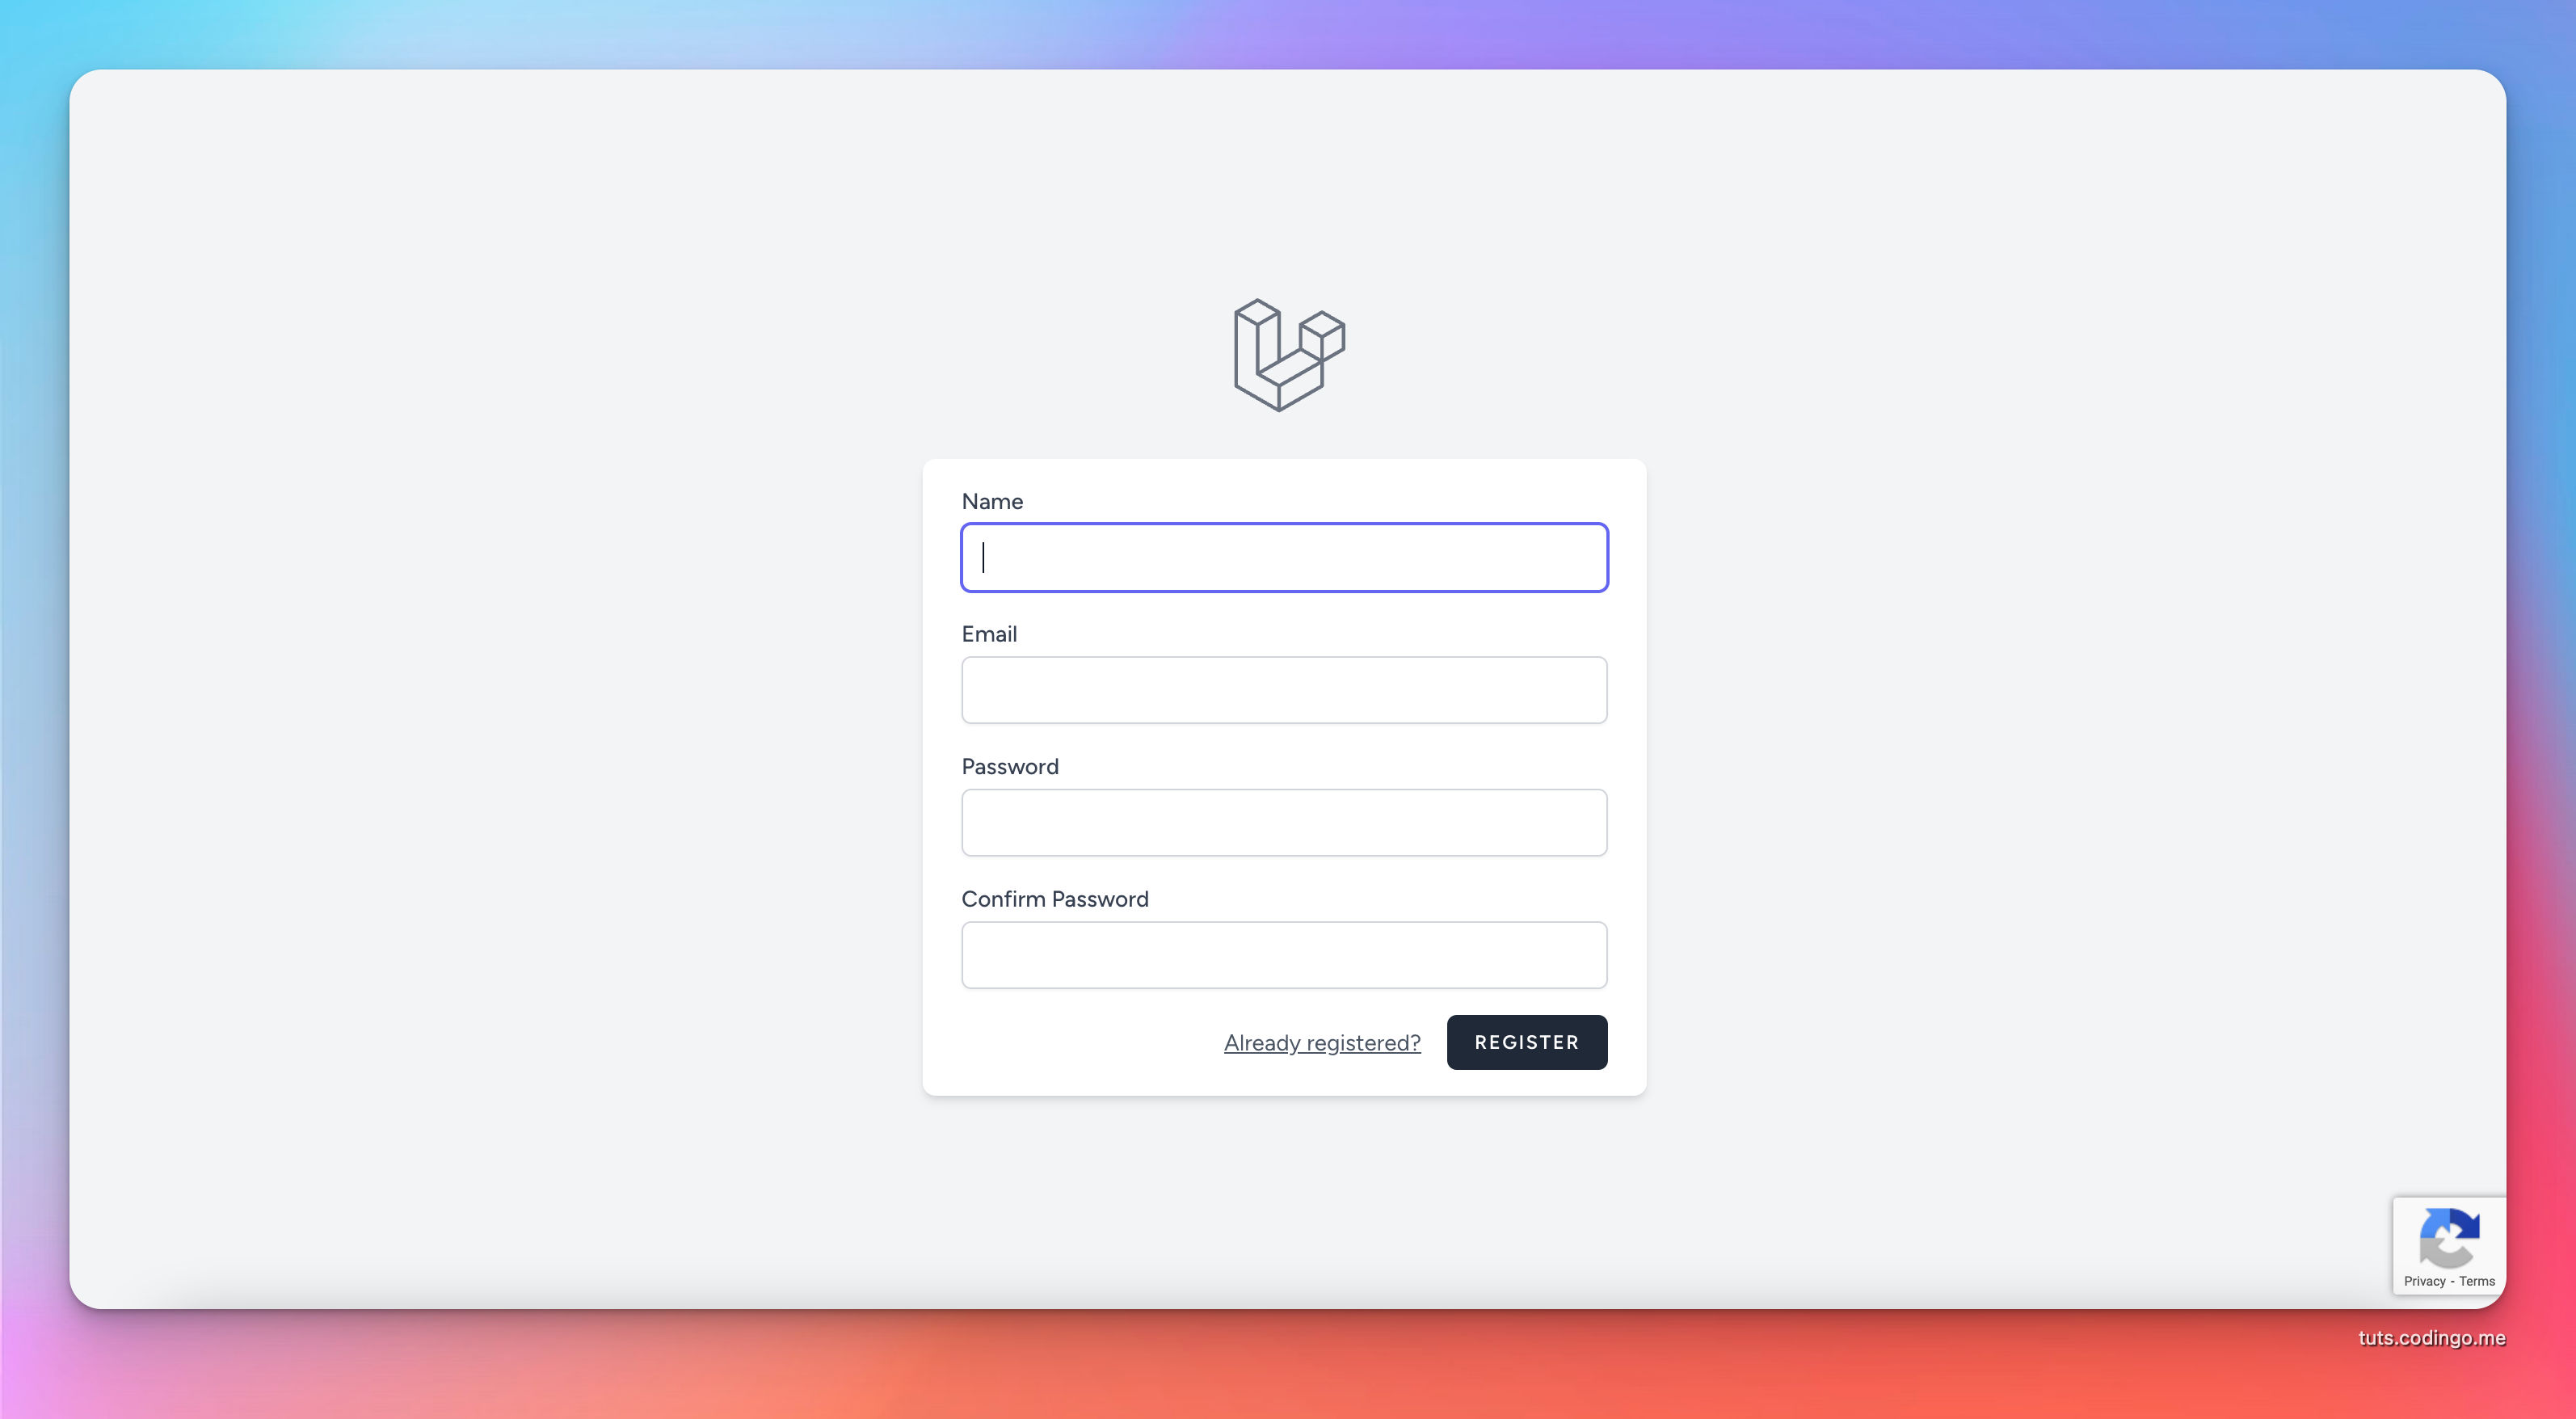
Preparing Laravel Application for Google ReCaptcha
In this tutorial, we’ll use the Laravel registration form from Breeze Starter Kit and the official Google composer package for reCaptcha.
Inside fresh Laravel 10 installation you need to run:
	composer require laravel/breeze --dev

	php artisan breeze:install
	php artisan migrate
	npm install
	npm run dev
First thing in installing google/recaptcha package.
composer require google/recaptcha "^1.3"
We need to add credentials for ReCaptcha inside config/services.php.
'captcha' => [
        'key' => env('RECAPTCHA_KEY'),
        'secret' => env('RECAPTCHA_SECRET'),
		'hostname' => env('RECAPTCHA_HOSTNAME')
    ]
Hostname is used to tell Google ReCAPTCHA which is domain is allowed to send requests.
And respective keys into the .env file.
RECAPTCHA_KEY=6LdZQW8pAAAAANonlBm6oydmWbdDYOgEKvelGXAl
RECAPTCHA_SECRET=6LdZQW8pAAAAAP1cZWnm5AQn1SK4tzMcdaAFlPZa
RECAPTCHA_HOSTNAME=laravel-playground.test
Code that will be modified on the Laravel side is:
-
RegisteredUserController.phpinside Auth folder - View
auth/register.blade.php
We’ll go through every Google ReCaptcha option one by one, and you can later choose the best option for your own application.
Laravel Explicit ReCaptcha v2 checkbox
In order to simplify things, it’s best to create a Recaptcha repository and keep verification logic inside. Separated folder for business logic classes makes sense, checkout mine:

<?php

namespace App\Logic;

use ReCaptcha\ReCaptcha;

class RecaptchaRepository
{
    private ReCaptcha $recaptchaClient;

    public function __construct()
    {
        $this->recaptchaClient = new ReCaptcha(config('services.captcha.secret'));
    }

    public function verify($recaptchaResponse) : bool
    {
        $response = $this->recaptchaClient->setExpectedHostname(config('services.captcha.hostname'))
            ->verify($recaptchaResponse, request()->ip());

        return $response->isSuccess();
    }
}
RecaptchaRepository has constructor which creates new ReCaptcha client using ReCaptcha secret from the config file.
In verify method we pass recaptcha response from the user and it validates the response, returns true or false.
You can add additional checks here, we only use setExpectedHostname.
It makes sense to create a Laravel form validation rule that implements the Recaptcha repository.
You can create new rule with php artisan make:rule ReCaptcha.
<?php

namespace App\Rules;

use Illuminate\Contracts\Validation\ValidationRule;
use App\Logic\RecaptchaRepository;
use Closure;

class ReCaptcha implements ValidationRule
{
    /**
     * Run the validation rule.
     *
     * @param  \Closure(string): \Illuminate\Translation\PotentiallyTranslatedString  $fail
     */
    public function validate(string $attribute, mixed $value, Closure $fail): void
    {
        $recaptcha = new RecaptchaRepository();

        if (!$recaptcha->verify($value))
            $fail('ReCaptcha check failed.');
    }
}
ReCaptcha validation rule uses the RecaptchaRepository we created above and check is it failed or not.
Now we should implement this rule into the Laravel validation logic for Register page.
Adding the Recaptcha validation rule into the Controller
If you are using the lastest version of Laravel, Laravel 10 your sign-up logic is located in RegisteredUserController inside app/Http/Controllers/Auth folder.
Inside store method we need to add new validation rule:
$request->validate([
            'name' => ['required', 'string', 'max:255'],
            'email' => ['required', 'string', 'lowercase', 'email', 'max:255', 'unique:'.User::class],
            'password' => ['required', 'confirmed', Rules\Password::defaults()],
            'g-recaptcha-response' => [ new ReCaptcha ]
        ]);
Recaptcha is a must if you offer account creation using emails. Better option is to force OAuth authentication and Google One Tap logins since abusing them is very hard.
Adding recaptcha frontend code
We still need to display reCaptcha checkbox on the front.
Register route is using auth/register.blade.php view, which extends guest.blade.php layout file.
Before closing body tag of the layout lets add section where we’ll include JS code.
</div>

        @yield('scripts')
    </body>
</html>
Inside register.blade.php at the bottom add this:
 	@section('scripts')
        <script type="text/javascript">
            var onloadCallback = function() {
                var captchaContainer = document.querySelector('.g-recaptcha');
                grecaptcha.render(captchaContainer, {
                    'sitekey' : '{{ config('services.captcha.key') }}'
                });
                document.querySelector('button[type="submit"]').disabled = false;
            };
        </script>
        <script type="text/javascript" src="https://www.google.com/recaptcha/api.js?onload=onloadCallback&render=explicit" async defer></script>
    @endsection
</x-guest-layout>
This JS code waits for onload event to occur and then it get HTML element with class ‘g-recaptcha’ and renders reCaptcha inside. It also enables submit button when it’s ready.
So now we need to add this div with ‘g-recaptcha’ class.
<!-- Confirm Password -->
        <div class="mt-4">
            <x-input-label for="password_confirmation" :value="__('Confirm Password')" />

            <x-text-input id="password_confirmation" class="block mt-1 w-full"
                            type="password"
                            name="password_confirmation" required autocomplete="new-password" />

            <x-input-error :messages="$errors->get('password_confirmation')" class="mt-2" />
        </div>
<!-- Captcha -->
        <div class="mt-4">
            <x-input-label for="captcha" :value="__('Solve Captcha')" />

            <div class="g-recaptcha mt-1" id="captcha"></div>

            <x-input-error :messages="$errors->get('g-recaptcha-response')" class="mt-2" />
        </div>

        <div class="flex items-center justify-end mt-4">
            <a class="underline text-sm text-gray-600 hover:text-gray-900 rounded-md focus:outline-none focus:ring-2 focus:ring-offset-2 focus:ring-indigo-500" href="{{ route('login') }}">
                {{ __('Already registered?') }}
            </a>

            <x-primary-button class="ms-4" disabled>
                {{ __('Register') }}
            </x-primary-button>
        </div>
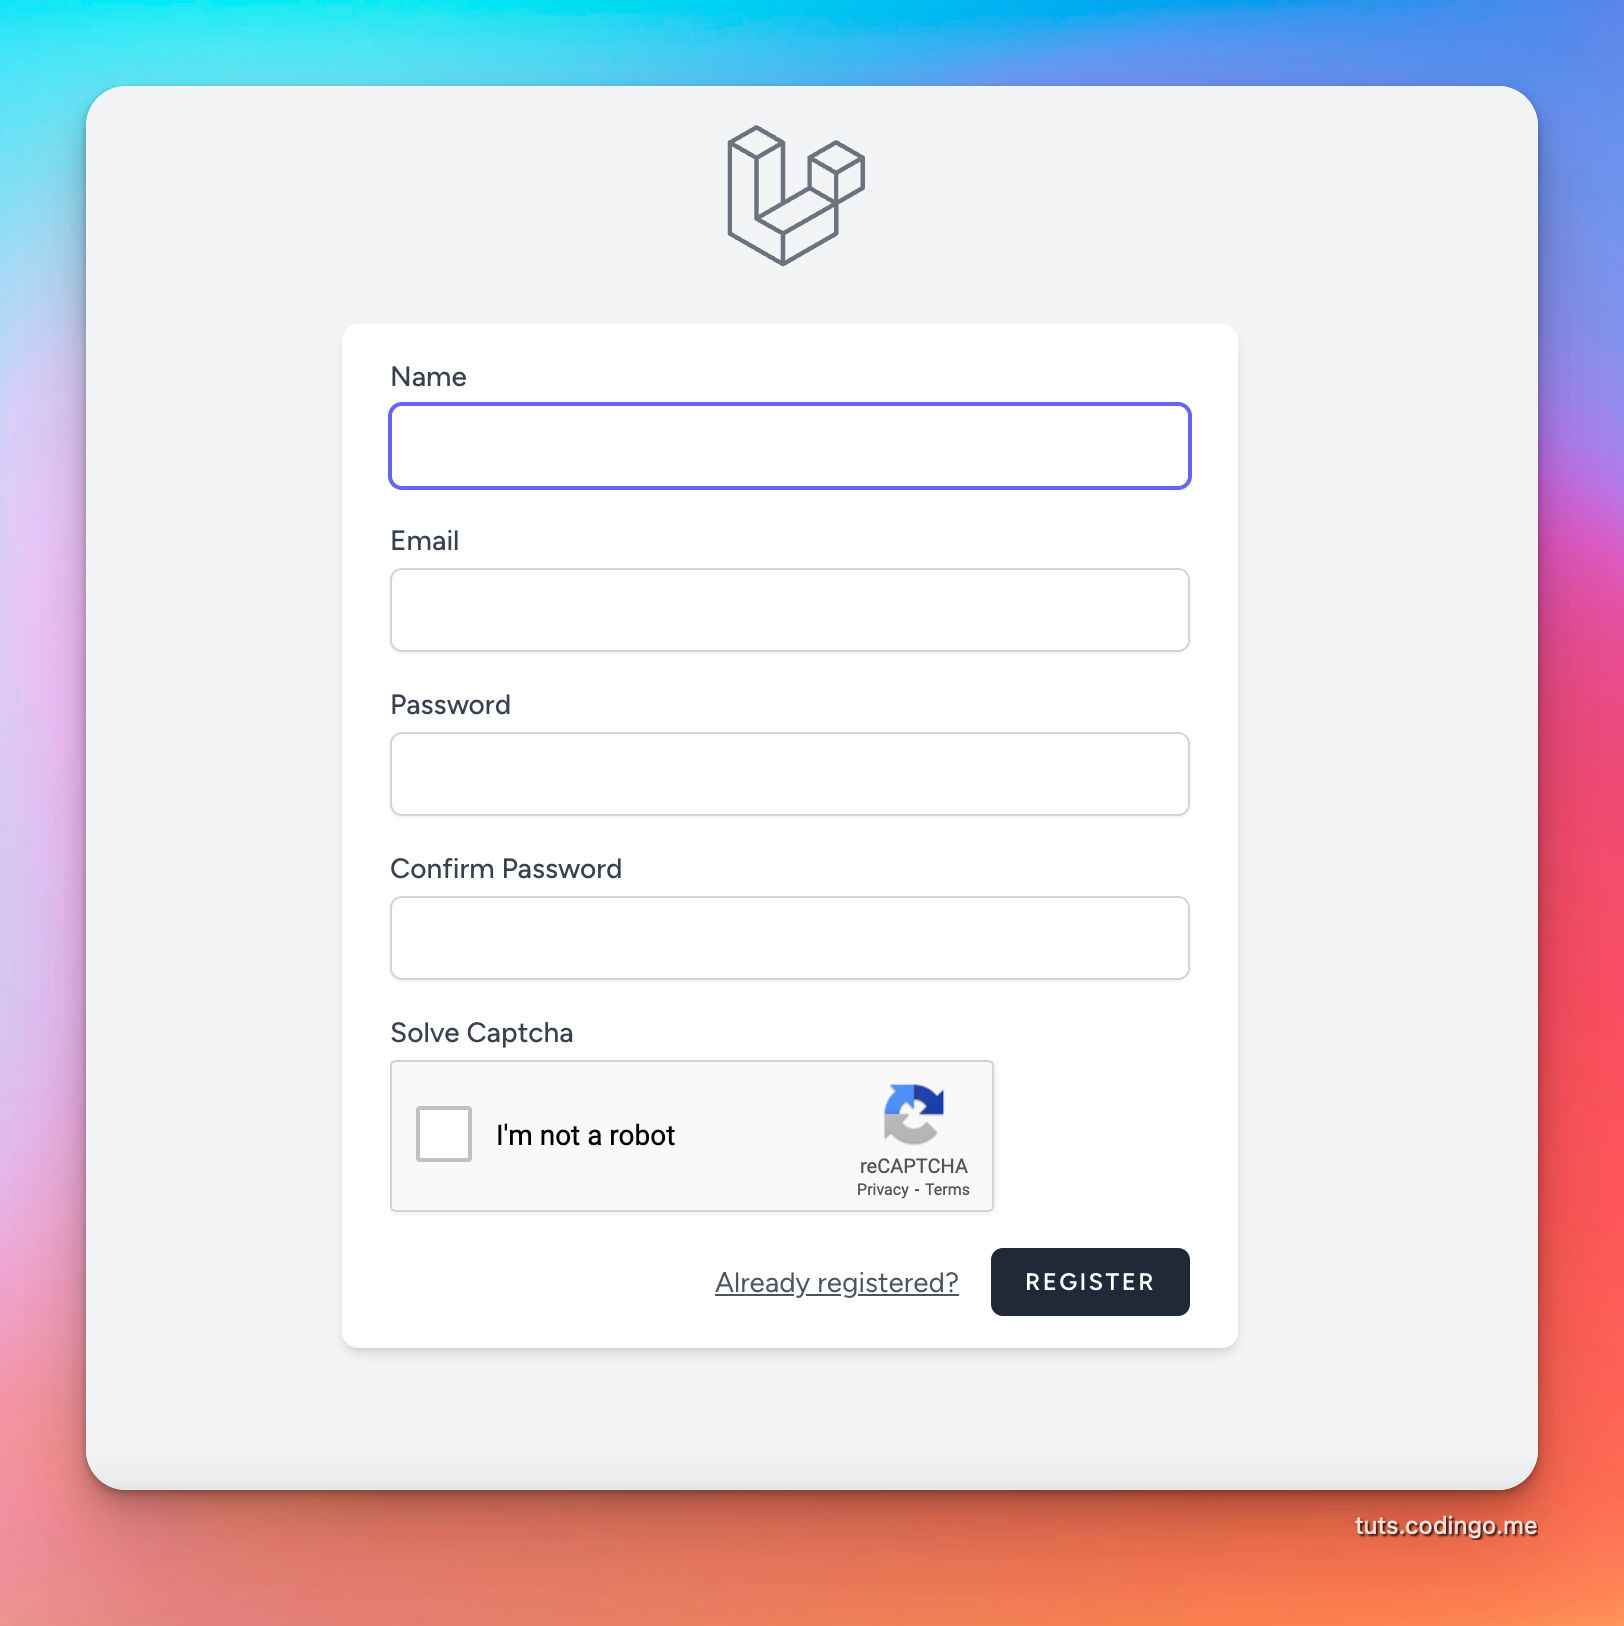
This is how final Laravel registration form looks with Google ReCaptcha v2 checkbox.
Laravel Implicit Rendering ReCaptcha v2 checkbox
Above example with explicit rendering has greater control over the form, since it waits for the onload event to trigger rendering, and submit button is disabled until it's loaded.
ReCaptcha script can be loaded like this also:
<script type="text/javascript" src="https://www.google.com/recaptcha/api.js?hl=en"></script>
And captcha div needs to have a class of 'g-recaptcha' and a data-sitekey property with the reCaptcha site key.
<div class="g-recaptcha mt-1" id="captcha" data-sitekey="{{ config('services.captcha.key') }}"></div>
Laravel Invisible ReCaptcha
Before going in the details about invisible reCAPTCHA we need to create new keys, since Invisible reCAPTCHA badge is a different reCAPTCHA type from the "I'm not a robot" Checkbox.
Now insert new keys into the .env file.
Only required changes between visible recaptcha and invisible recaptcha are in the frontend.
Id is added to the register form, recaptcha div is removed, and recaptcha data attributes are added into submit button.
JavaScript is a changed and now it has onSubmit function.
<x-guest-layout>
    <form method="POST" action="{{ route('register') }}" id="register-form">
        @csrf

        <!-- Name -->
        <div>
            <x-input-label for="name" :value="__('Name')" />
            <x-text-input id="name" class="block mt-1 w-full" type="text" name="name" :value="old('name')" required autofocus autocomplete="name" />
            <x-input-error :messages="$errors->get('name')" class="mt-2" />
        </div>

        <!-- Email Address -->
        <div class="mt-4">
            <x-input-label for="email" :value="__('Email')" />
            <x-text-input id="email" class="block mt-1 w-full" type="email" name="email" :value="old('email')" required autocomplete="username" />
            <x-input-error :messages="$errors->get('email')" class="mt-2" />
        </div>

        <!-- Password -->
        <div class="mt-4">
            <x-input-label for="password" :value="__('Password')" />

            <x-text-input id="password" class="block mt-1 w-full"
                            type="password"
                            name="password"
                            required autocomplete="new-password" />

            <x-input-error :messages="$errors->get('password')" class="mt-2" />
        </div>

        <!-- Confirm Password -->
        <div class="mt-4">
            <x-input-label for="password_confirmation" :value="__('Confirm Password')" />

            <x-text-input id="password_confirmation" class="block mt-1 w-full"
                            type="password"
                            name="password_confirmation" required autocomplete="new-password" />

            <x-input-error :messages="$errors->get('password_confirmation')" class="mt-2" />
        </div>

        <div class="flex items-center justify-end mt-4">
            <a class="underline text-sm text-gray-600 hover:text-gray-900 rounded-md focus:outline-none focus:ring-2 focus:ring-offset-2 focus:ring-indigo-500" href="{{ route('login') }}">
                {{ __('Already registered?') }}
            </a>

            <x-primary-button type="button" class="ms-4 g-recaptcha" data-sitekey="{{ config('services.captcha.key') }}" data-callback='onSubmit'>
                {{ __('Register') }}
            </x-primary-button>
        </div>
    </form>

    @section('scripts')
        <script type="text/javascript" src="https://www.google.com/recaptcha/api.js?hl=en"></script>
        <script>
            function onSubmit(token) {
                document.getElementById("register-form").submit();
            }
        </script>
    @endsection
</x-guest-layout>
If everything is OK, you'll see your Laravel app has insvisible reCAPTCHA badge in the bottom-right corner.