
Magic login links are becoming a standard. Every day more applications are using them. It may seem like an ordinary feature, but why magic links are so popular?
Why use Magic Links?
From the perspective of an end user, there is nothing to remember, no passwords, no password rules, and no friction.
Whenever a user tries to log in he requests a new link, and that's it.
From the perspective of an application provider there are a few reasons:
- No email verification - if they need to click on the link from the mail, that instantly means they have valid mail if they authenticate.
- Turn down fake emails - there are 1000s of bots, that try to abuse sign-up forms.
- Better email reputation - valid users will constantly click on the links inside your login emails, which will send good signals to the email provider companies.
What are the bad things when using Magic Links?
The initial setup is more complex since magic links are not a built-in Laravel option.
When emails are involved it's important to track the deliverability of emails and prevent potential abuse of the request magic link feature.
Someone who has bad intentions and a lot of spare time could instruct hundreds of bots to click repeatedly on the link.
If we send too many emails to fake emails or to the emails of people who did not request them that will for sure tank email deliverability. And could get us block-listed on many email providers.
Laravel requirements for Magic login links
In this tutorial I'll start from Laravel Breeze with Blade but you can use any setup. Backend logic will be the same.
We'll need few routes:
- request login route
- login with the temporary token route
In order to keep track of temporary tokens we'll need new model and migration.
For email sending we need SMTP details. I usually use Postmark.
This should be all. I won't cover protection too much here, since it can have multiple layers.
Migration for the temporary login tokens
I'll name this model MagicToken and table will be magic_tokens. Run command:
php artisan make:migration create-magic-tokens --create=magic_tokens
This will create an empty migration, so add:
<?php

use Illuminate\Database\Migrations\Migration;
use Illuminate\Database\Schema\Blueprint;
use Illuminate\Support\Facades\Schema;

return new class extends Migration
{
    /**
     * Run the migrations.
     */
    public function up(): void
    {
        Schema::create('magic_tokens', function (Blueprint $table) {
            $table->id();
            $table->unsignedBigInteger('user_id');
            $table->foreign('user_id')->references('id')->on('users')->onDelete('cascade');
            $table->string('token');
            $table->timestamp('used_at')->nullable();
            $table->timestamps();
        });
    }

    /**
     * Reverse the migrations.
     */
    public function down(): void
    {
        Schema::dropIfExists('magic_tokens');
    }
};
MagicToken model:
<?php

namespace App\Models;

use Illuminate\Database\Eloquent\Relations\BelongsTo;
use Illuminate\Database\Eloquent\Model;

class MagicToken extends Model
{
    protected $guarded = ['id'];

    public function getRouteKeyName()
    {
        return 'token';
    }

    public function user() : BelongsTo
    {
        return $this->belongsTo(User::class);
    }
}
Magic login link Controller
I will split logic for magic link into a dedicated MagicLinkController.
This controller will have a method for requesting a link, I'll name it requestLink. This method will accept email address and try to find matching user account. If it's a match it'll send magic link to it.
In both cases this method will return success message to the front. No need to tell them that email is not discovered, we don't want anyone to be able to discover our users.
Request magic link logic
Full controller with a requestLink method:
<?php

namespace App\Http\Controllers\Auth;

use App\Http\Controllers\Controller;
use Illuminate\Support\Facades\Mail;
use App\Http\Requests\MagicLink;
use App\Mail\MagicLinkMail;
use Illuminate\Support\Str;
use App\Models\MagicToken;
use App\Models\User;

class MagicLinkController extends Controller
{
    public function requestLink(MagicLink $request)
    {
        $validated = $request->validated();

        $user = User::where('email', $validated['email'])->first();

        if (!empty($user)) {
            $magicToken = MagicToken::create([
                'user_id' => $user->id,
                'token' => Str::uuid()->toString(),
            ]);

            Mail::to($user->email)->send(new MagicLinkMail($magicToken));
        }

        return redirect()->back()->with('success', true);
    }
}
First parameter passed into requestLink is a form request, which I use to validate that email is passed from the frontend.
<?php

namespace App\Http\Requests;

use Illuminate\Foundation\Http\FormRequest;

class MagicLink extends FormRequest
{
    public function authorize(): bool
    {
        return true;
    }

    public function rules(): array
    {
        return [
            'email' => 'required|string|email'
        ];
    }
}
Inside this form request it's a good idea to place abuse prevention logic inside authorize method.
In requestLink if we have a user account with passed email we take that User and create a MagicToken for his account. After that, we email him the link.
In production this logic will require abuse prevention measures here, but for now this is enough.
Request magic link route
We'll need a POST route for this request magic method:
Route::post('magic-link', [MagicLinkController::class, 'requestLink'])->name('magic-link.request');
You can put throttle on this route to prevent too many requests at the same time.
Magic link email class and view
In order to create Mail class and view I used this command:
php artisan make:mail MagicLinkMail --markdown=mail.magic-link
MagicLinkMail is the default one I just passed MagicToken into it's contructor.
<?php

namespace App\Mail;

use Illuminate\Mail\Mailables\Envelope;
use Illuminate\Queue\SerializesModels;
use Illuminate\Mail\Mailables\Content;
use Illuminate\Bus\Queueable;
use Illuminate\Mail\Mailable;
use App\Models\MagicToken;

class MagicLinkMail extends Mailable
{
    use Queueable, SerializesModels;

    public MagicToken $magicToken;

    /**
     * Create a new message instance.
     */
    public function __construct(MagicToken $magicToken)
    {
        $this->magicToken = $magicToken;
    }

    /**
     * Get the message envelope.
     */
    public function envelope(): Envelope
    {
        return new Envelope(
            subject: 'Magic Login Link',
        );
    }

    /**
     * Get the message content definition.
     */
    public function content(): Content
    {
        return new Content(
            markdown: 'mail.magic-link',
        );
    }

    /**
     * Get the attachments for the message.
     *
     * @return array<int, \Illuminate\Mail\Mailables\Attachment>
     */
    public function attachments(): array
    {
        return [];
    }
}
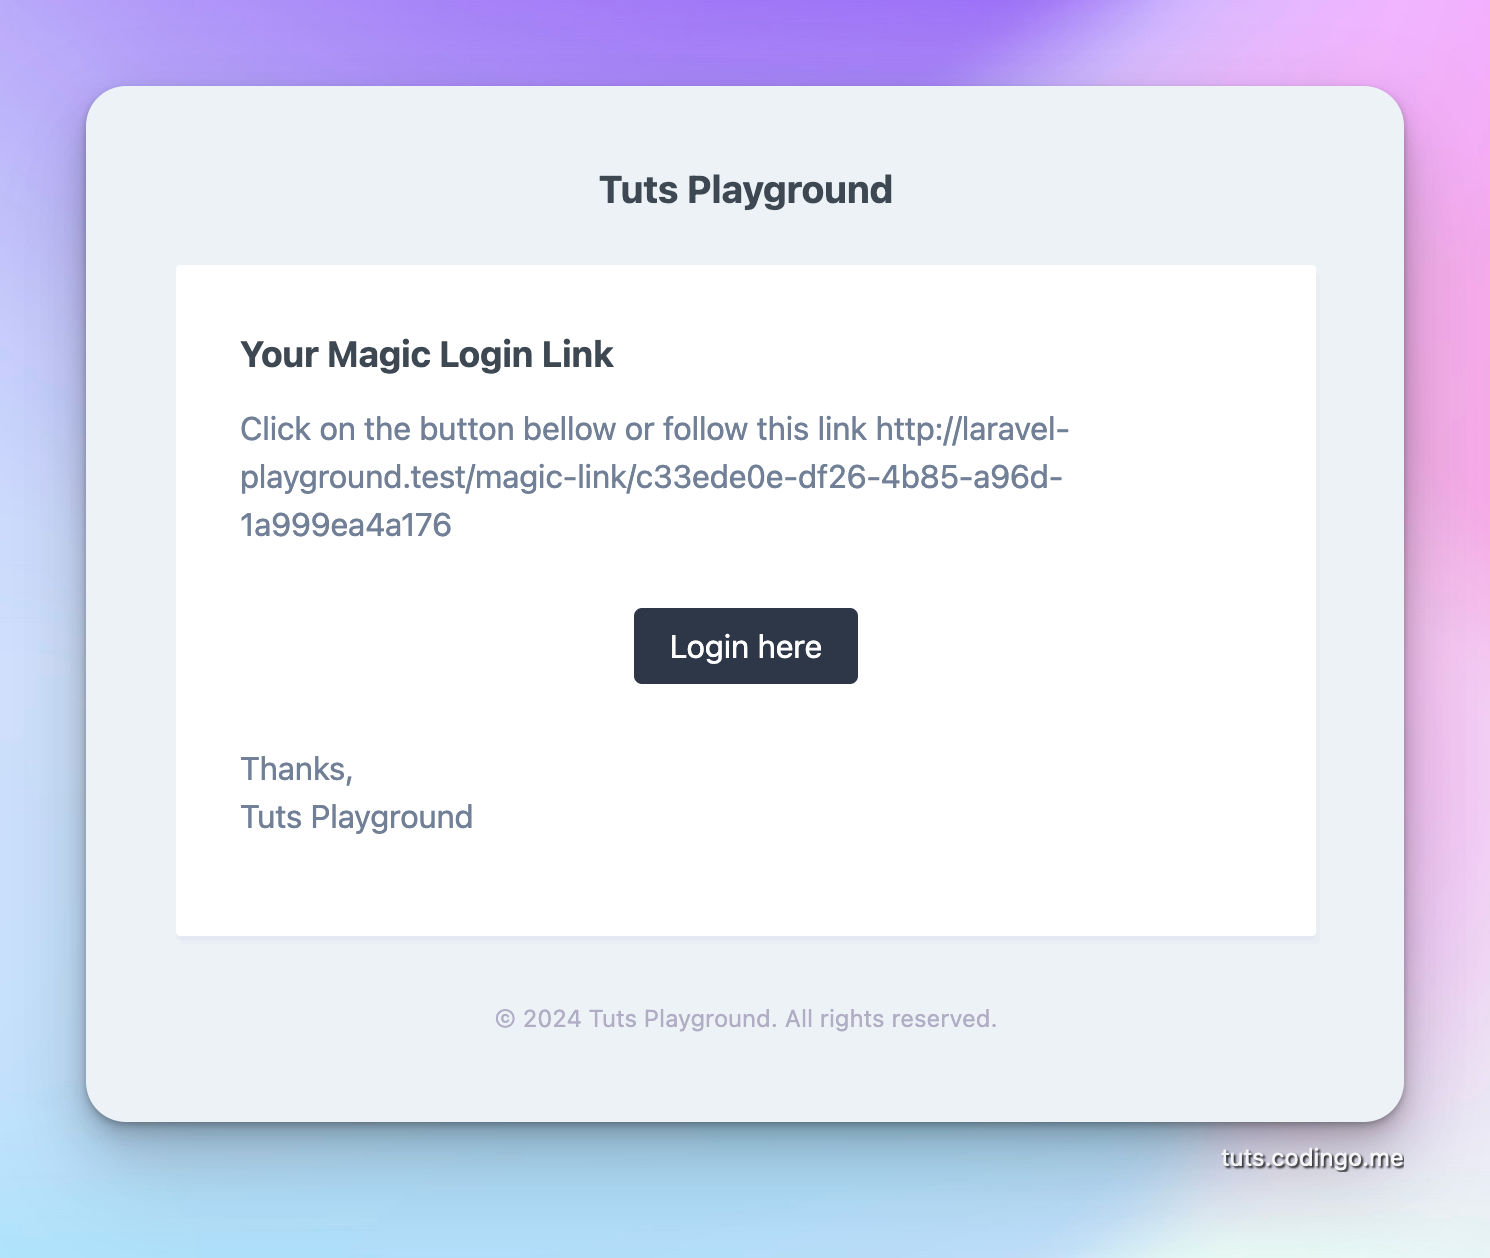
And mail/magic-link.blade.php:
<x-mail::message>
# Your Magic Login Link

Click on the button bellow or follow this link {{ route('magic-link.login', ['magicToken' => $magicToken]) }}

<x-mail::button :url="route('magic-link.login', ['magicToken' => $magicToken])">
Login here
</x-mail::button>

Thanks,<br>
{{ config('app.name') }}
</x-mail::message>
Magic authentication link form
For this I'll modify the default login view.
And make this:
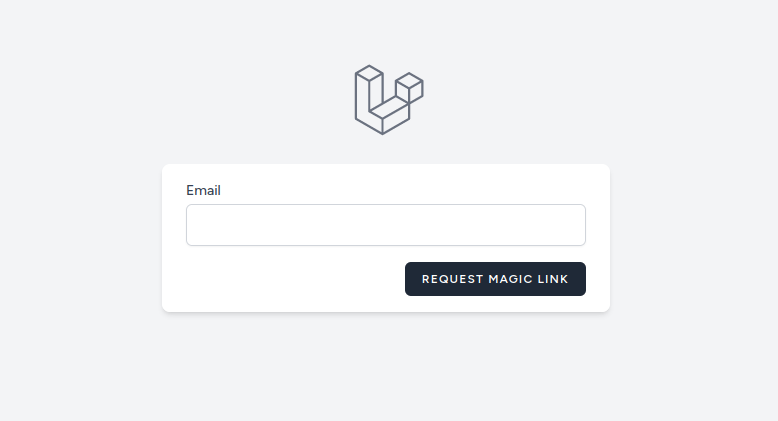
Blade code behind the login view:
<x-guest-layout>

    <x-auth-session-status class="mb-4" :status="session('status')" />

    <form method="POST" action="{{ route('magic-link.request') }}">
        @csrf

        <!-- Email Address -->
        <div>
            <x-input-label for="email" :value="__('Email')" />
            <x-text-input id="email" class="block mt-1 w-full" type="email" name="email" :value="old('email')" required autofocus autocomplete="username" />
            <x-input-error :messages="$errors->get('email')" class="mt-2" />
        </div>

        <div class="flex items-center justify-end mt-4">

            <x-primary-button class="ms-3">
                {{ __('Request Magic Link') }}
            </x-primary-button>
        </div>
    </form>

</x-guest-layout>
When user requests an email, if email is found he'll receive this email:
Magic link authentication process
This is the most important piece of logic in the tutorial.
Steps which we'll implement:
- If MagicToken has
created_atdate older than 5 minutes we'll deny request - If MagicToken
used_atfield is !null deny request - If MagicToken is a good one we'll write into it's
used_atfield and authenticate
Login method:
    public function login(MagicToken $magicToken)
    {
        if ($magicToken->created_at <= Carbon::now()->subMinutes(5) || !is_null($magicToken->used_at))
            abort(403);

        $magicToken->update([
            'used_at' => Carbon::now()
        ]);

        Auth::login($magicToken->user);

        return redirect()->to('/');
    }
This method will require related route:
Route::get('magic-link/{magicToken}', [MagicLinkController::class, 'login'])->name('magic-link.login');
To-do when in production
This code will work as expected but there are many edge-cases I did not tackle in it.
First thing is that you should disable routes for usual authentication and registration using email. Since we don't want anyone to skip the magic link feature and possibly use unverified email.
We need measures in place to prevent abuse, possible ideas:
- remember IP/browser string of the user requesting magic link; prevent using on the different device
- implement throttle and allow only limited number of emails in a defined period of time
- monitor hard bounces and put them one the block-list, so they don't affect our deliverability in the future
- implement cron which will clean old magic tokens
These are some of the ideas for a magic link implementation.
I hope you have enough to get started with coding your own.